Last updated on May 12th, 2022 at 05:48 pm
Introduction
Installing Arch linux using installer simplifies installation process significantly. It’s almost as convenient as using a modern graphical UI, and you can have your new system configured in minutes, compared to a long 30-60 minute manual installation.
If you’d rather install Arch linux manually, then take a look at our manual installation guide.
Step 1. Download installation media
Head to Arch linux official download page, select the closest mirror, download the image and create a bootable USB with dd, Balena Etcher or Rufus. Don’t forget to verify the checksum.
Step 2. Boot the installation image from USB
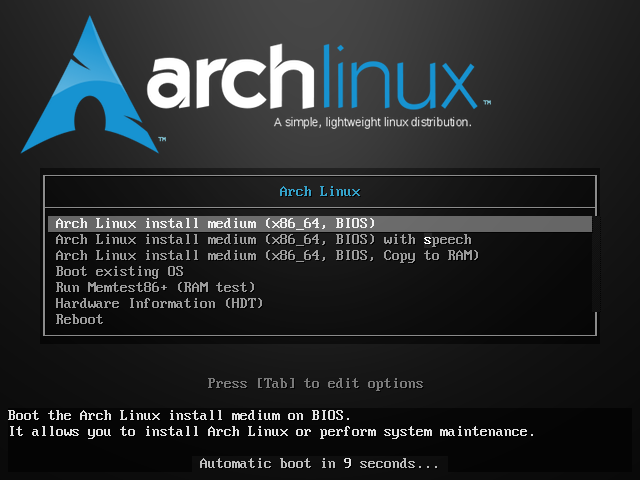
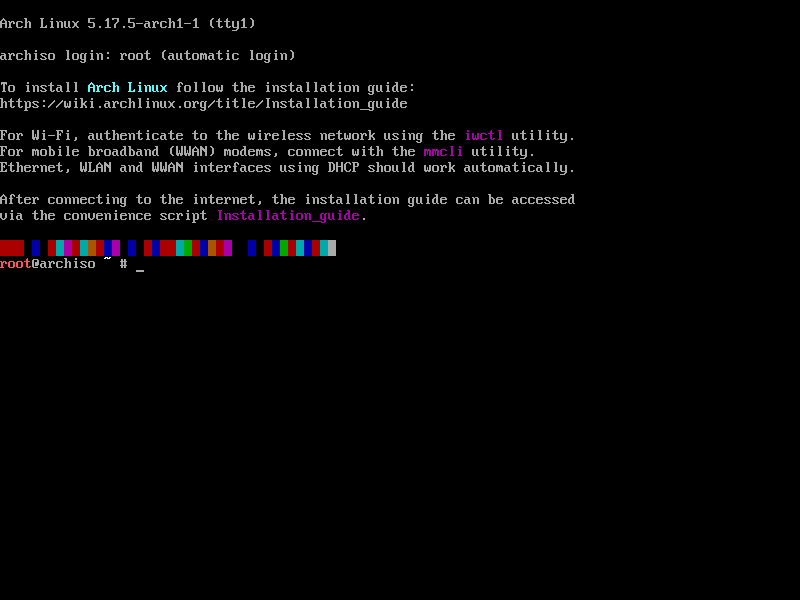
Choose the default option, and you will see this command line interface.
Step 3. Set up internet connection
Check the internet connection by typing
ping archlinux.orgYou may need to use iwctl utility to set up a Wi-Fi network or mmcli utility to set up a mobile broadband modem.
Make sure you can see responses from arch linux server similar to the ones below before you continue.
ping archlinux.org
PING archlinux.org (95.217.163.246) 56(84) bytes of data.
64 bytes from archlinux.org (95.217.163.246): icmp_seq=1 ttl=53 time=319 ms
64 bytes from archlinux.org (95.217.163.246): icmp_seq=2 ttl=53 time=324 ms
64 bytes from archlinux.org (95.217.163.246): icmp_seq=3 ttl=53 time=318 ms
64 bytes from archlinux.org (95.217.163.246): icmp_seq=4 ttl=53 time=323 ms
64 bytes from archlinux.org (95.217.163.246): icmp_seq=5 ttl=53 time=319 ms
Step 4. Launch Arch linux installer
Simply type
archinstalland if your internet connection is working you will see the installer configuration screen
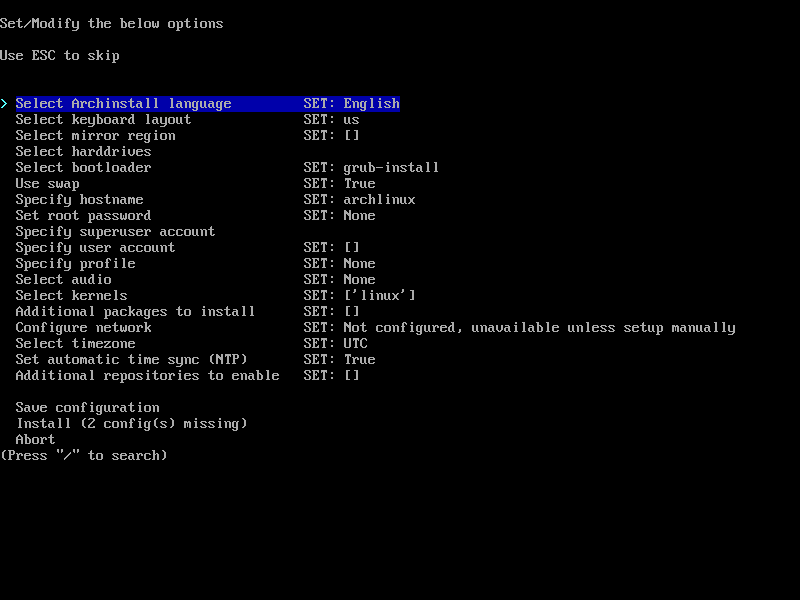
The first three options are pretty straightforward: simply select you language, keyboard layout and choose the closest mirror. After you’ve done that it’s time to partition the disks. Select “Select harddrives” option.
Step 5. Partition hard-drives
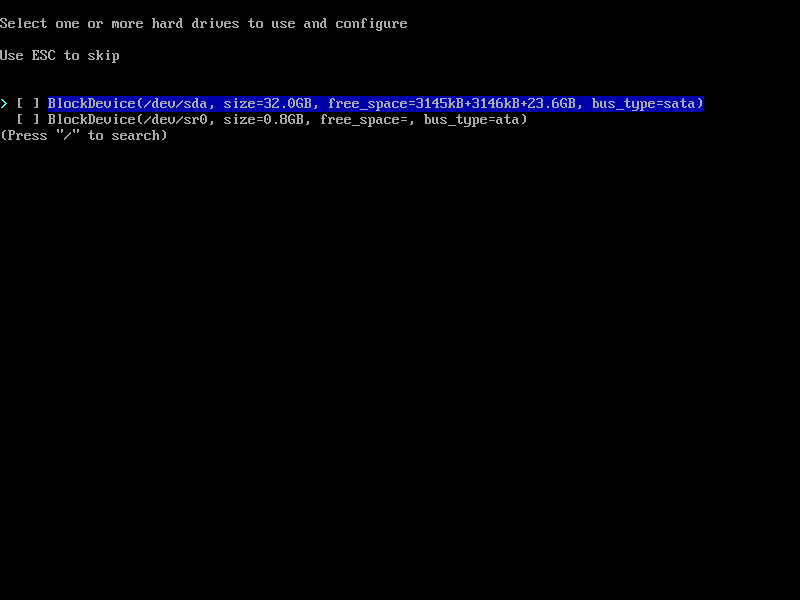
I am using a 32GB drive (/dev/sda), while /dev/sr0 is my installation media. Select the drive that you want to install Arch linux on (/dev/sda in my case) and press enter. Make sure you have a backup of any valuable information that you have on this drive, as the drive will be wiped out during the installation.
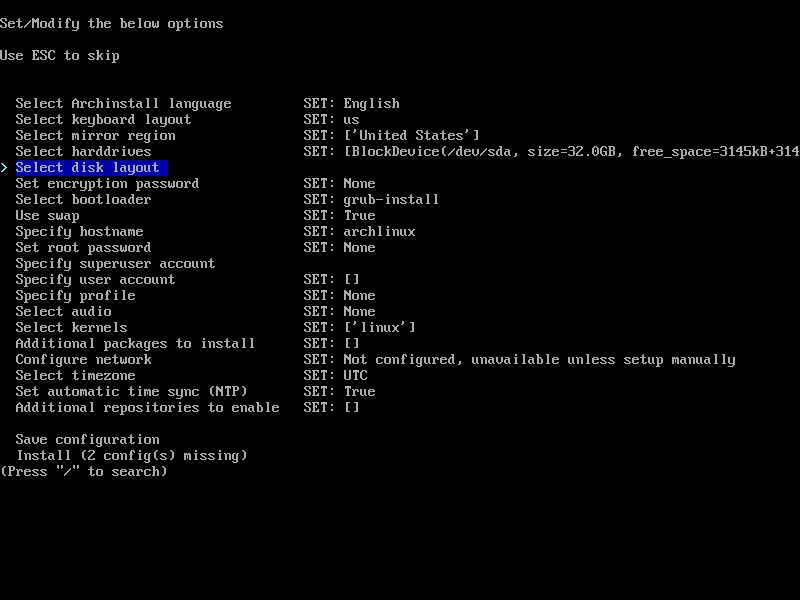
You will see that your hard drive has been set and a new option Select disk layout appeared. Press enter.
Automatic disk partitioning
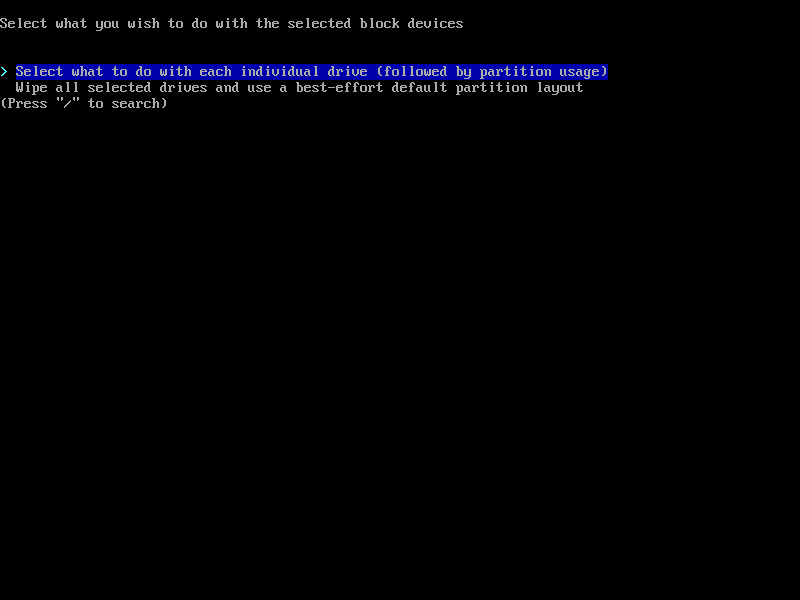
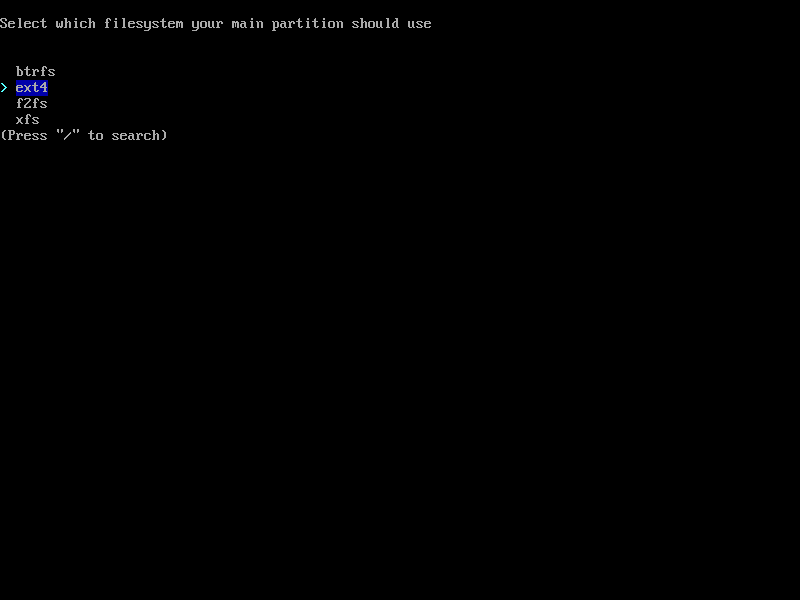
I recommend using a separate drive to install Arch, which makes partitioning process much more convenient for both Linux and Windows. If you can use the entire drive to install Arch to, simply select Wipe all selected drives and use a best-effort default partition layout, then select the file system that you want to use.
After you press enter you will see that the disk layout has been created for you by the script.

Manual partitioning
If that’s not what you want, then you’ll need to spend some time partitioning your disk. In this case, select the first option Select what to do with each individual drive.
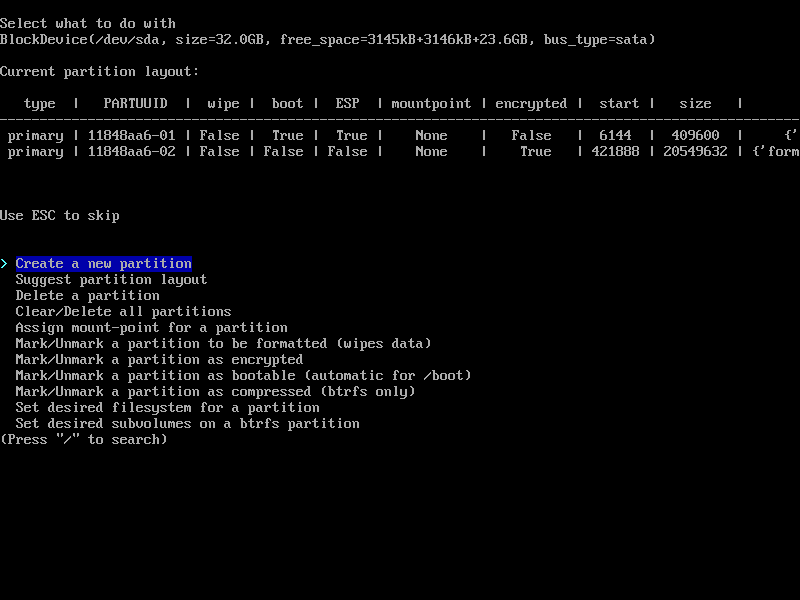
You will see an partitioning interface, similar to cfdisk utility.
Refer to Disk partitioning section in our manual installation guide for some tips on manual drive partitioning. There are tons of information available on Arch linux wiki as well.
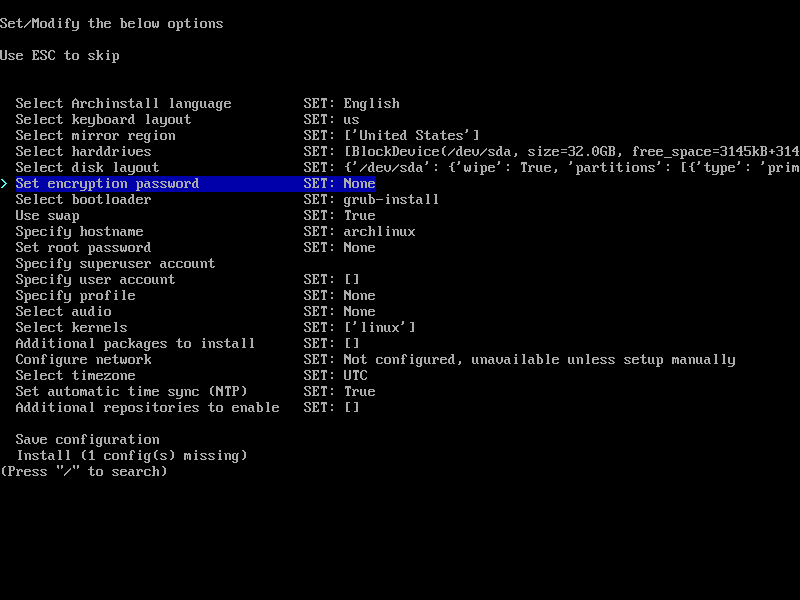
Finally, set up disk encryption by setting encryption password if you need and whether or not you want to use swap.
At the time of writing there was only one option available for the bootloader: GRUB. There might be more options available in the future.
Step 6. Set up root and user accounts
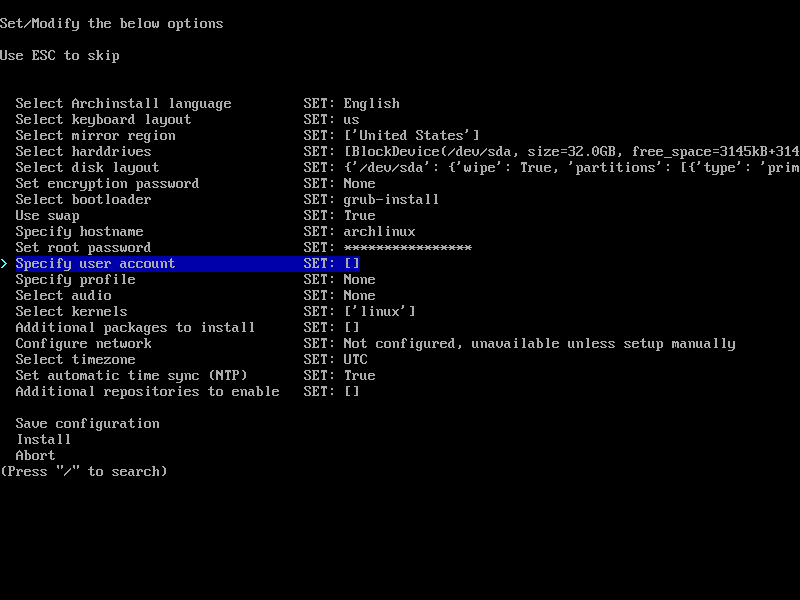
Set up root password and select Specify user account after that. Enter username and password.
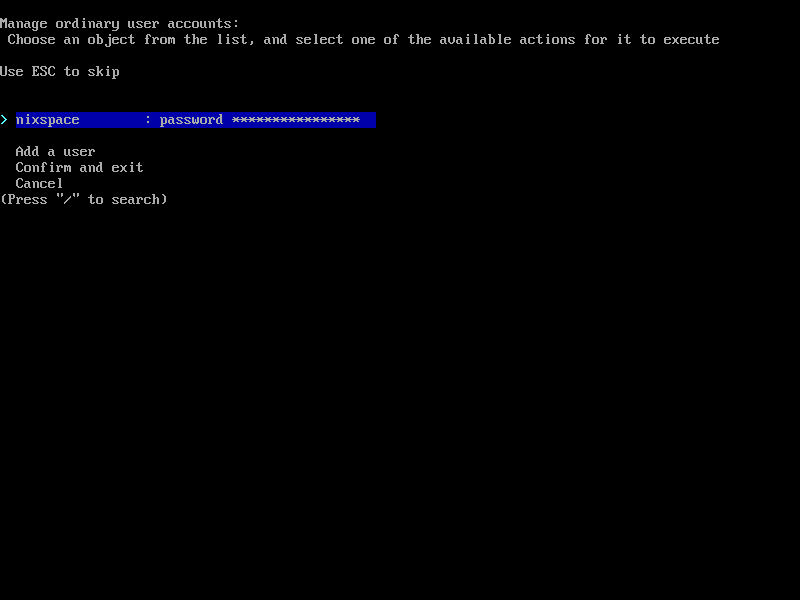
Add more users if you need, then select Confirm and exit.
Step 7. Choose software profile
There are several predefined software profiles that you can use during the installation. For example, you can install a full desktop environment, a server system, or just the very basic system that you will customize later. The script will install packages depending on your choice, so choose the desired configuration under the Specify profile option.
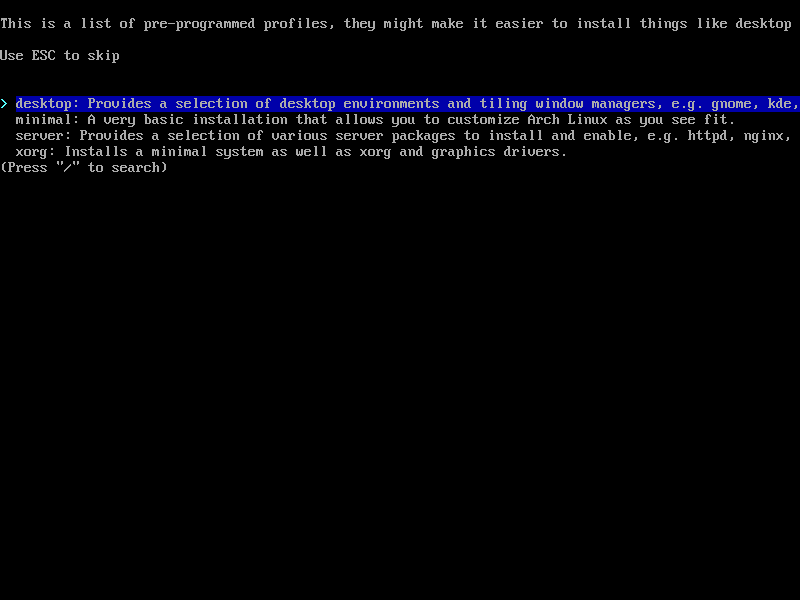
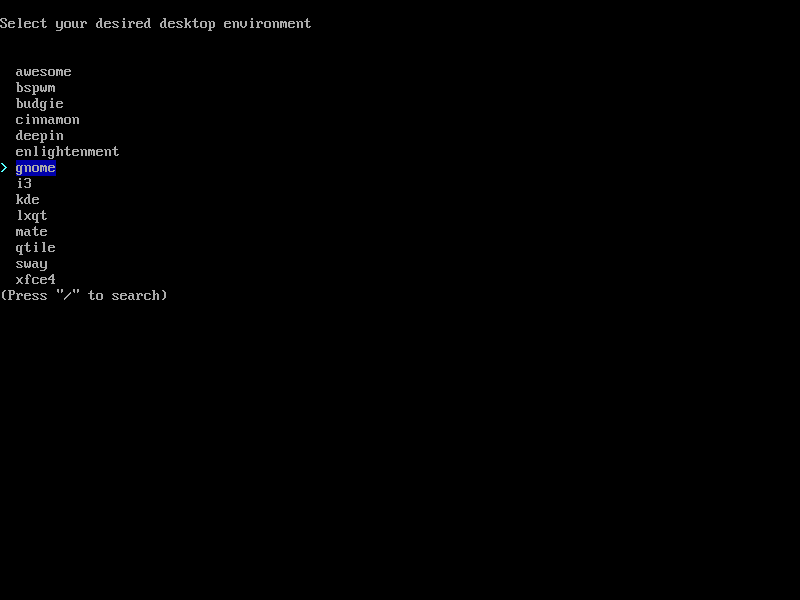
I am going to install GNOME desktop, so I selected desktop profile here, and GNOME on the next screen.
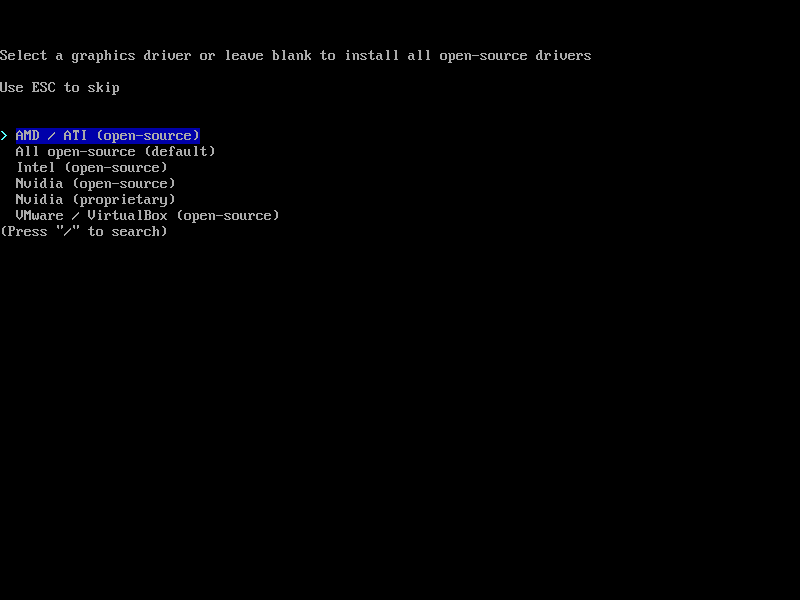
If you chose desktop or xorg profile, you will see a graphics driver selection screen. Simply select the right driver to install, and, in case you have an NVIDIA graphics card, whether or not you would like to use the proprietary drivers.
Next, select the audio driver to use. Pulseaudio has been in active development since 2004, and is, in general, very stable, while Pipewire is a relatively new project.
Step 8. Fine-tune the system
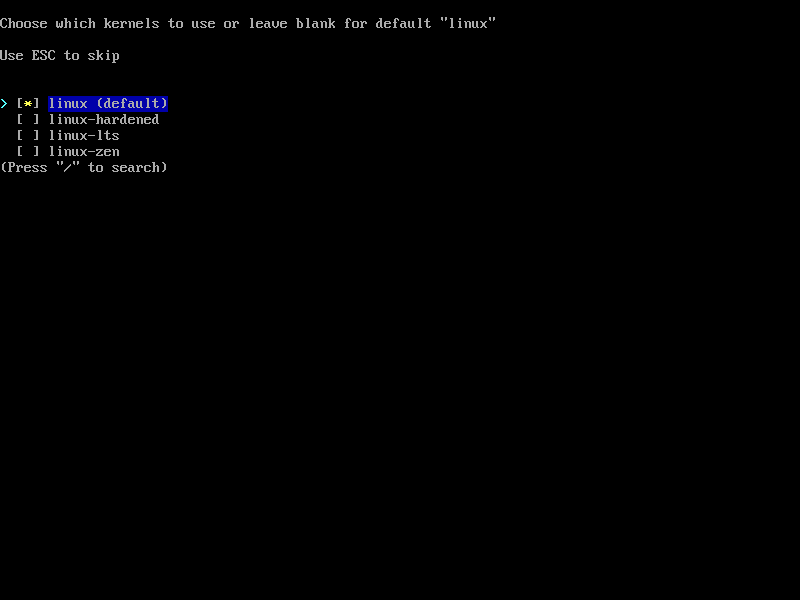
After you have selected the audio driver, the only thing left to do is to select a kernel and any additional packages that you want to install.
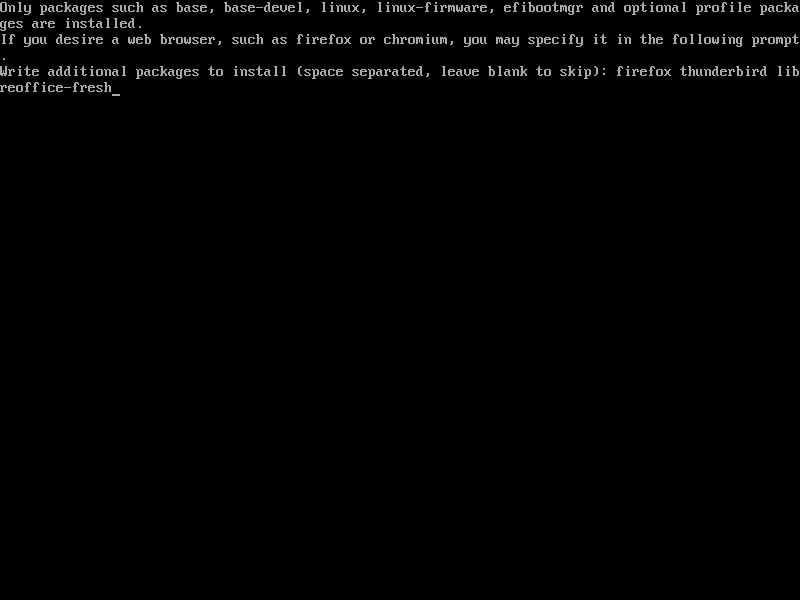
Here I added Firefox Thunderbird and Libreoffice to the list of packages that will be installed on my system. Note that you should type the package name exactly as it appears in the Repo.
If you don’t know the exact name, you can search for packages on Archlinux packages page or refer to their List of applications if you are not quite sure what exactly you are looking for.
After selecting packages, configure your new system’s network if you will be using a different network configuration, select the correct timezone and any additional repositories that you want to use.

Step 9. Install the system and boot

Simply press Install after you configured everything. If you missed something, then the installer will remind you. Then wait for the installer to partition the disks and download and install packages.
If there were no errors, you will see the following screen.
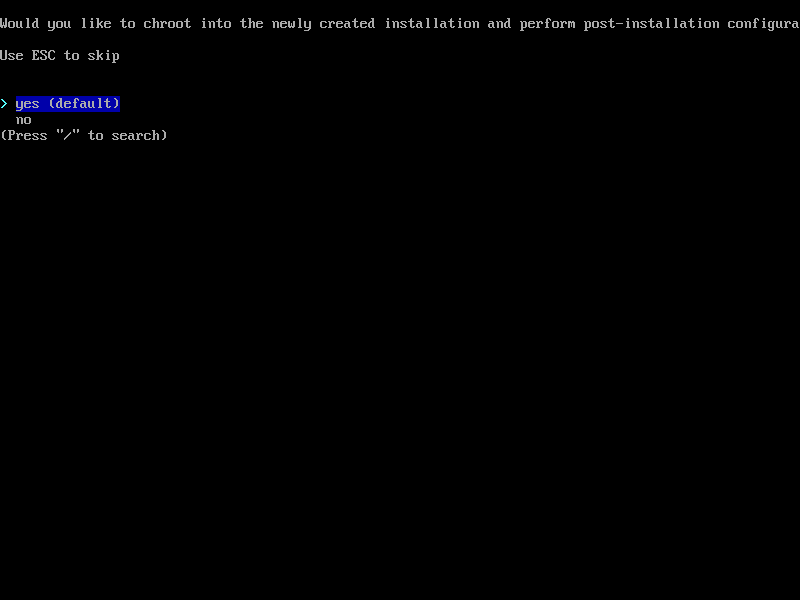
If you don’t know what chroot into the new system means then you should choose no, otherwise you already know what to do.
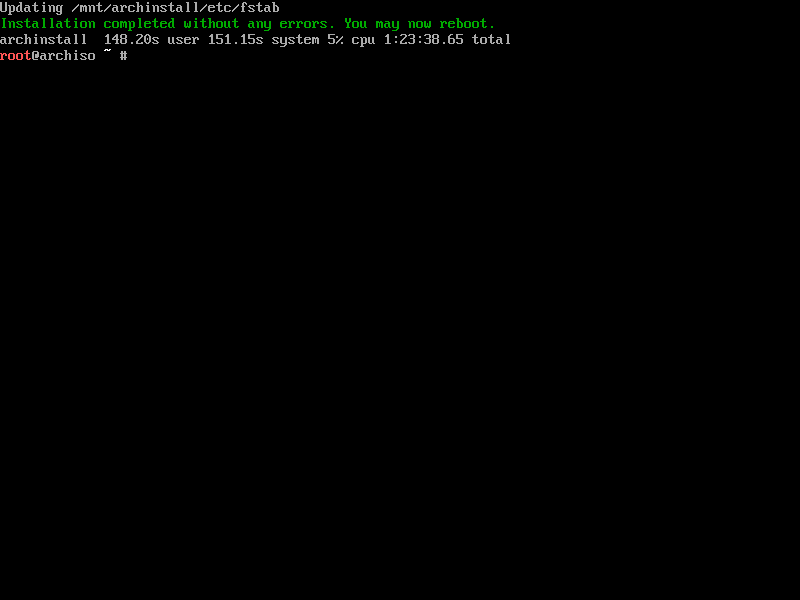
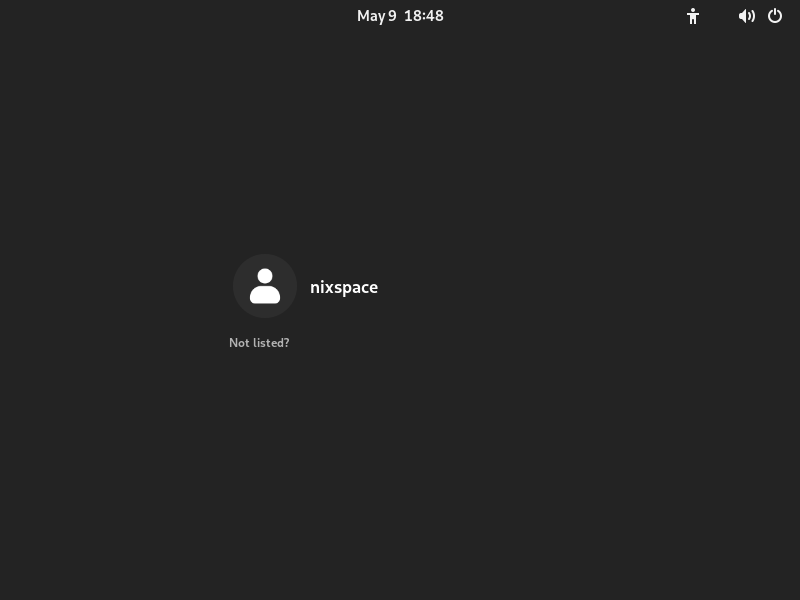
Type reboot, remove the installation media and boot into your new system.