Last updated on February 14th, 2022 at 07:03 am
Introduction
VirtualBox allows you to install Windows 11 on a virtual machine relatively quickly without any potential post-installation problems. Follow the steps with me in this tutorial.
Step 1. Download Windows 11 iso
Go to the Windows Insider Preview download page and login.
You need to be a member of the Windows Insider program to download the iso. You can check how to become a member on the Microsoft website.
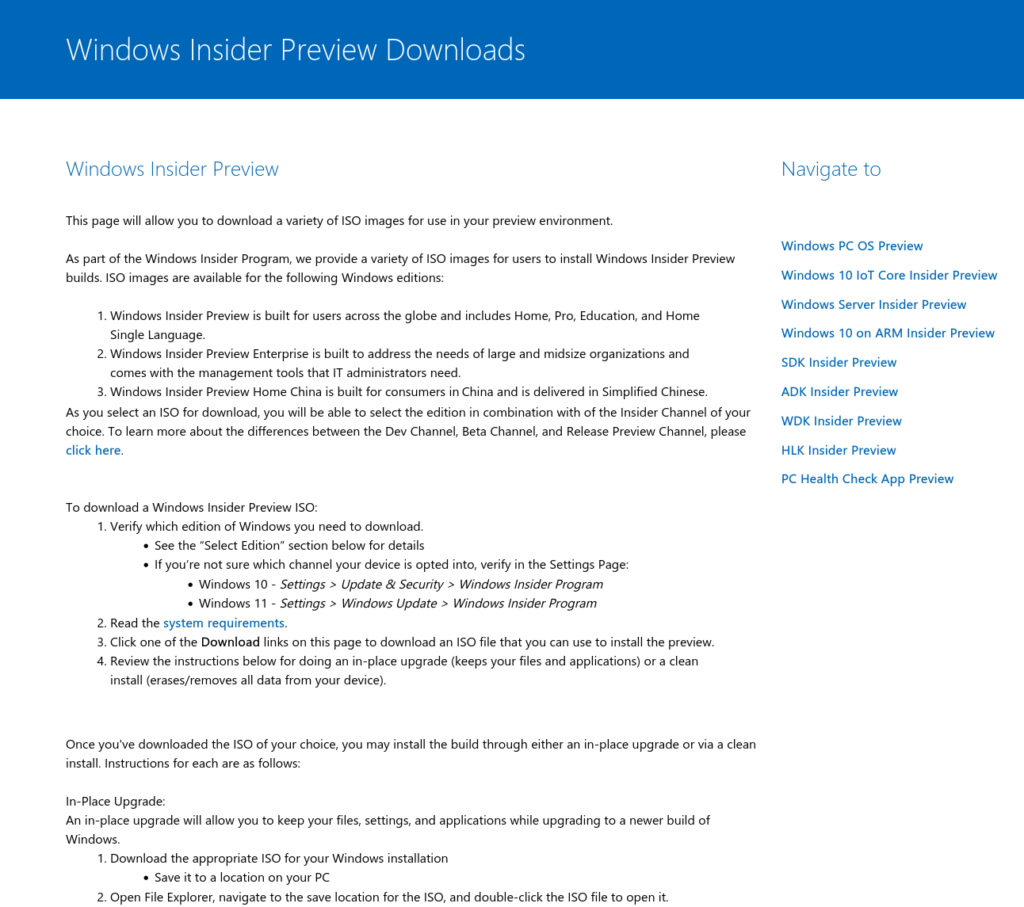
After that scroll down until you see the Select Edition heading.
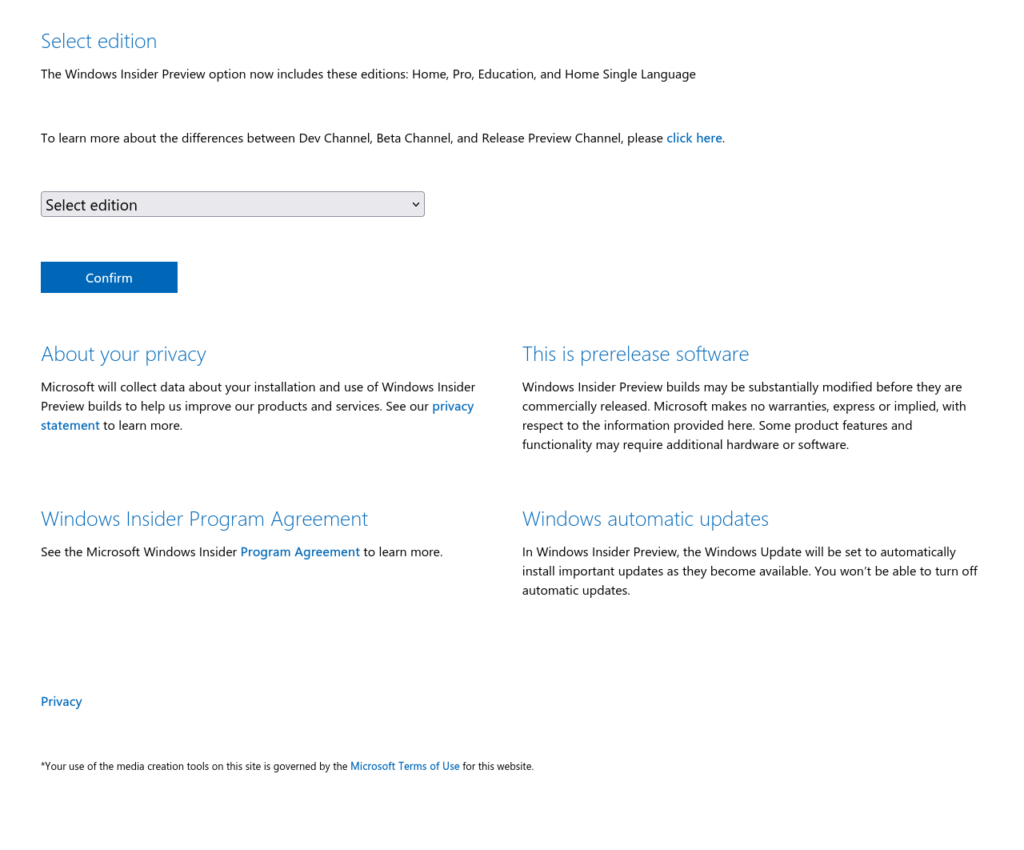
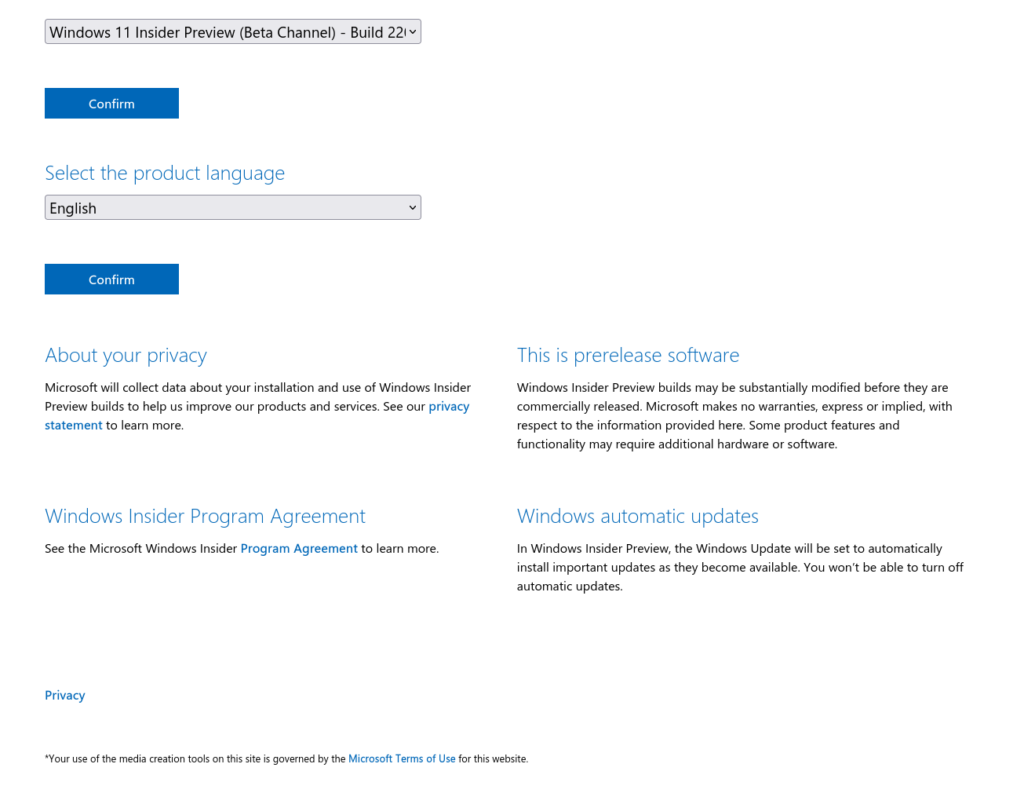
Select Windows edition and press Confirm. I recommend selecting Windows 11 Insider Preview (Beta Channel). Then select language.
Step 2. Create VM in VirtualBox
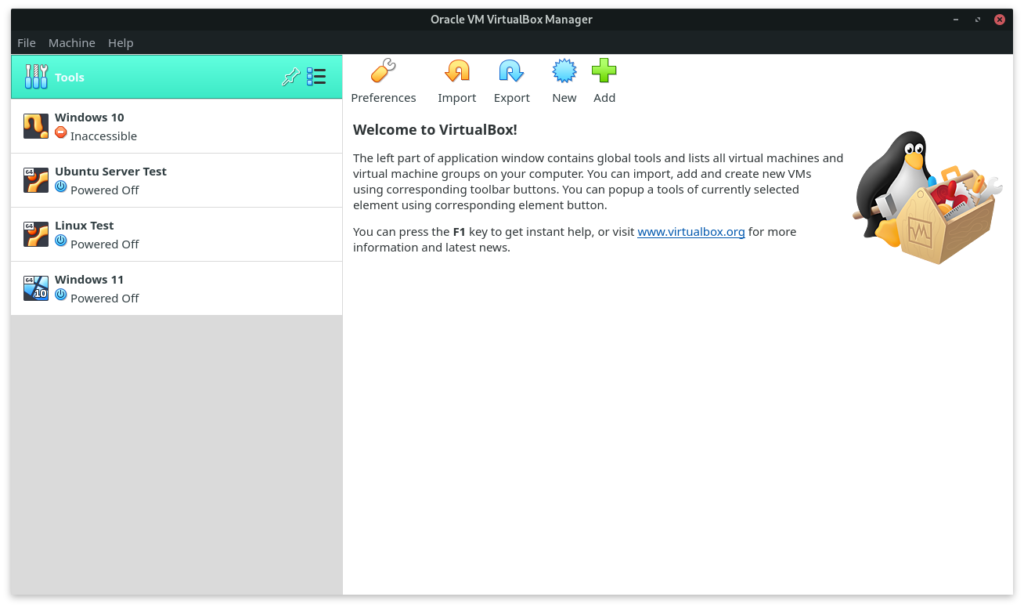
Install VirtualBox if you don’t have it, launch it and select New.
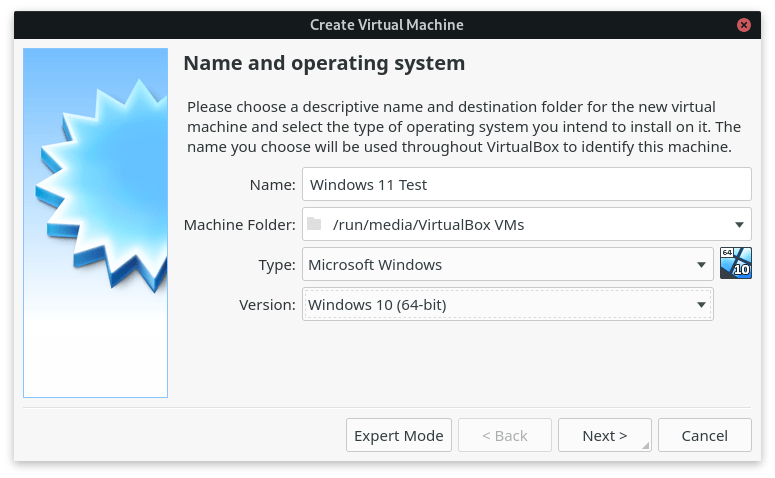
Choose a name for the virtual machine, and select Microsoft Windows > Windows 10 (64 bit).
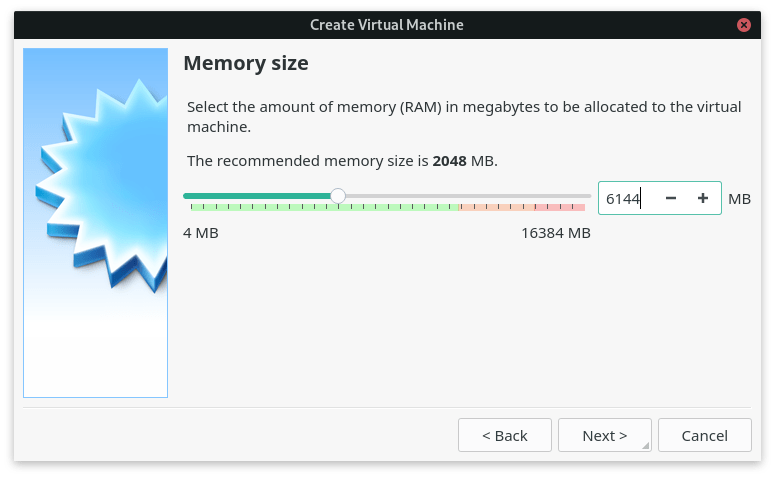
Then select the amount of RAM that you want to allocate to the virtual machine. The maximum number depends on your hardware, but I recommend at least 6GB for a Windows 11 machine.
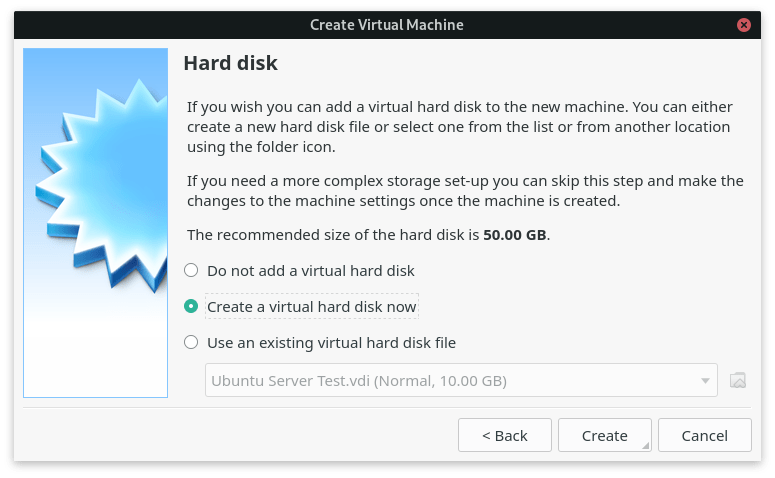
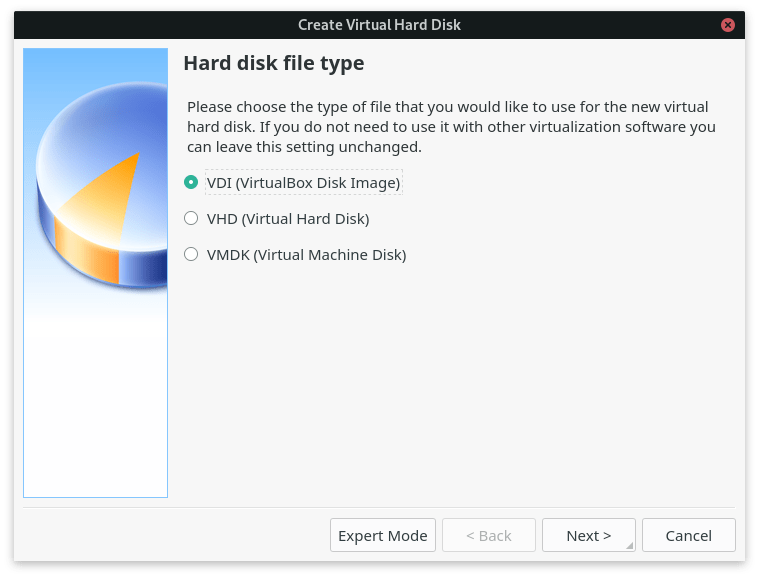
After that you will need to create a virtual hard drive for your machine. The default choice works in most cases, so, unless you need something specific, just click Create, then choose VDI (VirtualBox Disk Image).
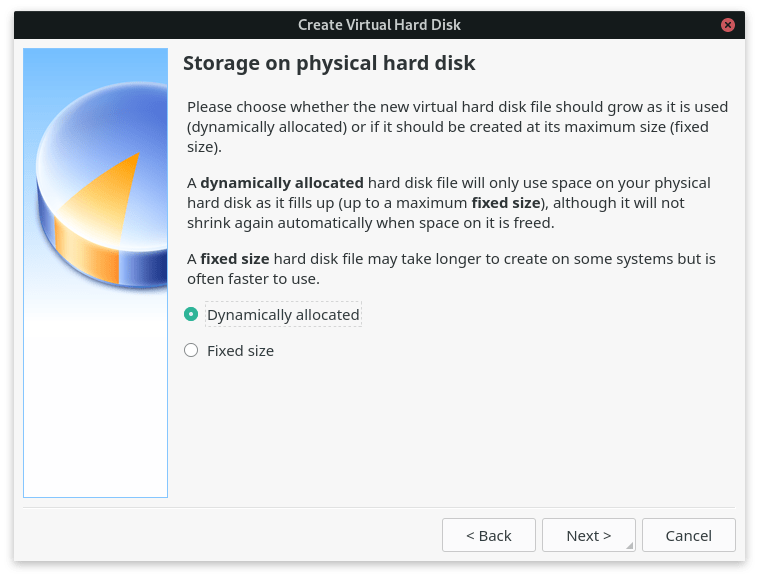
After you click Next you will need to choose how the virtual disk file will be stored on your computer. A Dynamically allocated hard disk file is more convenient, since it expands as it fills up, while a Fixed size virtual hard disk is faster, but allocates the whole size when you create it.
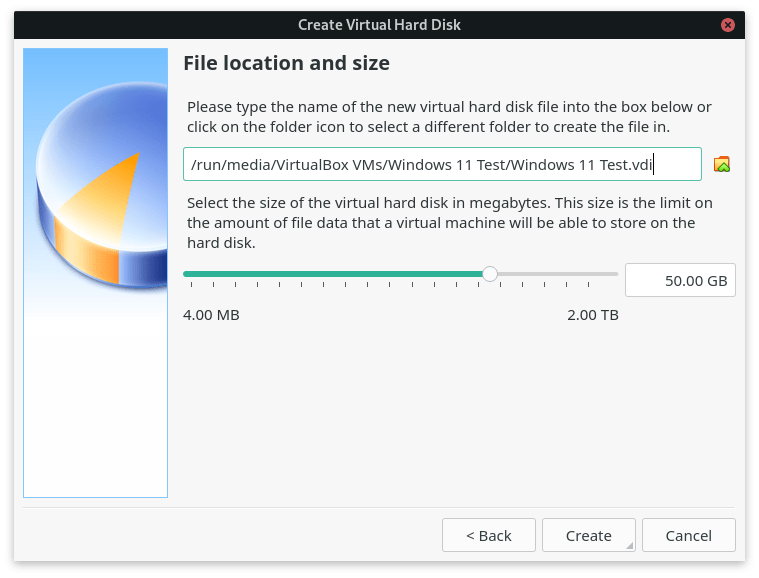
The only thing left to do is to select virtual hard drive size and location. Unless you plan to install some software on Windows 11, 50GB should be enough.
Step 3. Select system configuration and boot from iso
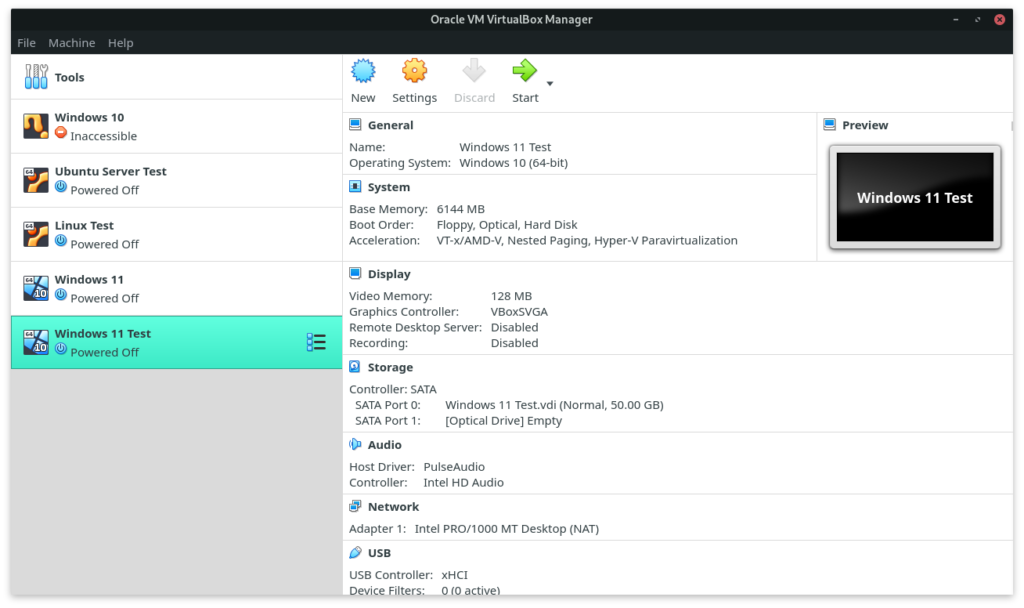
Select your newly created virtual machine and choose Settings.
Select System, then click on Processor tab. Adjust the number of virtual CPUs that the machine is allowed to use. In general, the more the better.

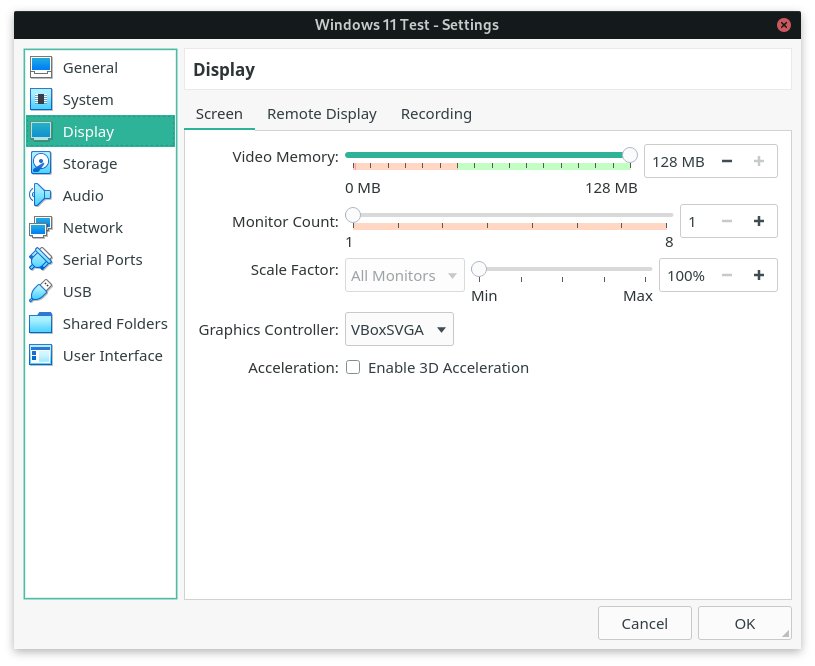
Then in the Display category adjust the amount of video memory that the machine can use.
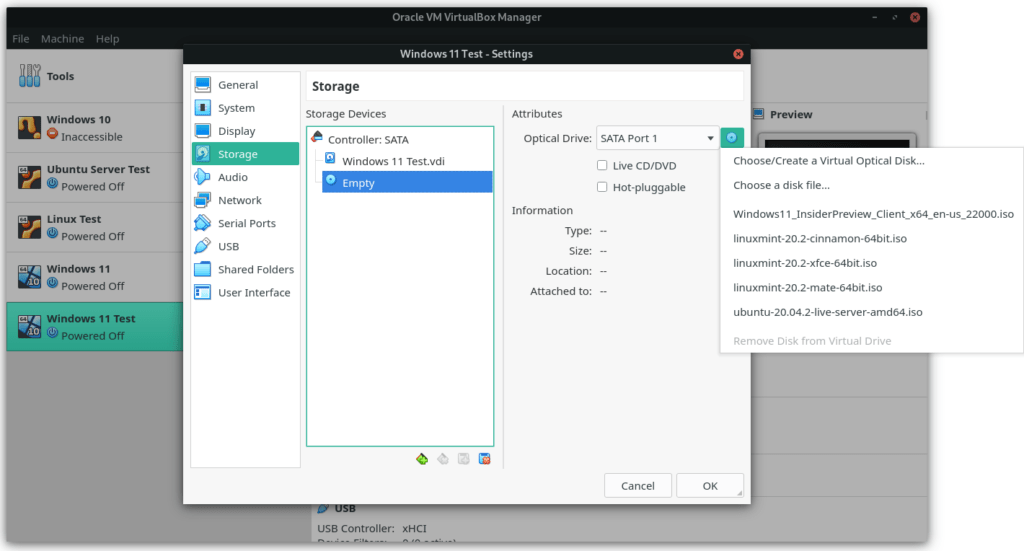
After that go to the Storage category and click on the Empty optical drive. Click on the optical drive icon on the right, then click on Choose a disk file and select the Windows 11 image that you downloaded earlier, and click OK.
Step 4. Boot the virtual machine and install Windows 11
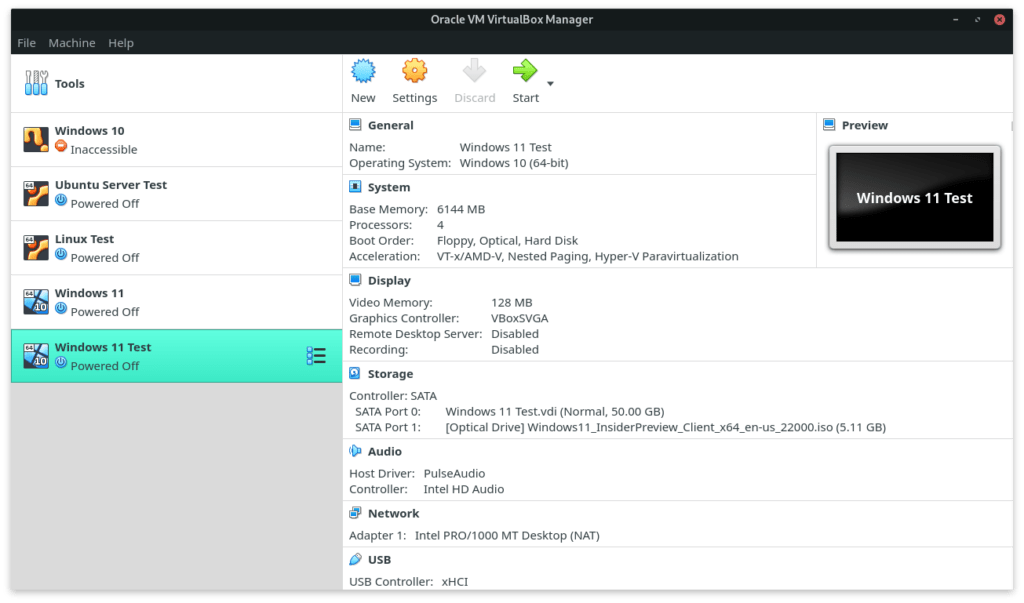
In the VirtualBox Manager choose your newly created virtual machine and click Start.
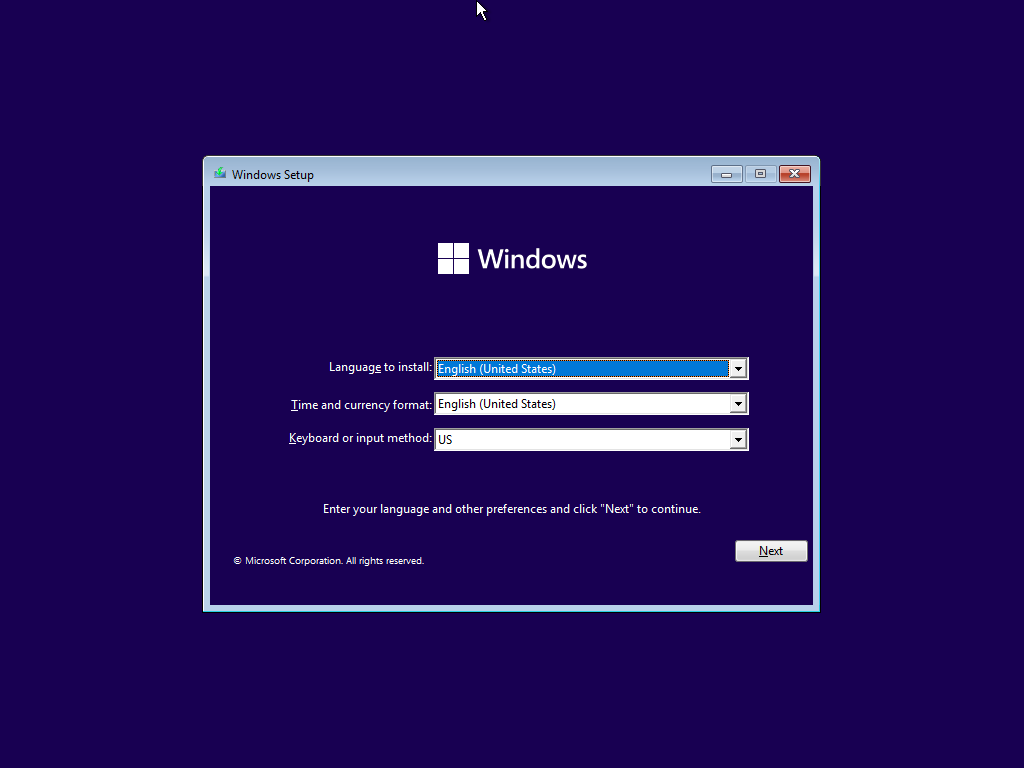
You will see a familiar installation screen. Choose a language, a keyboard layout and click Next and then Install now.
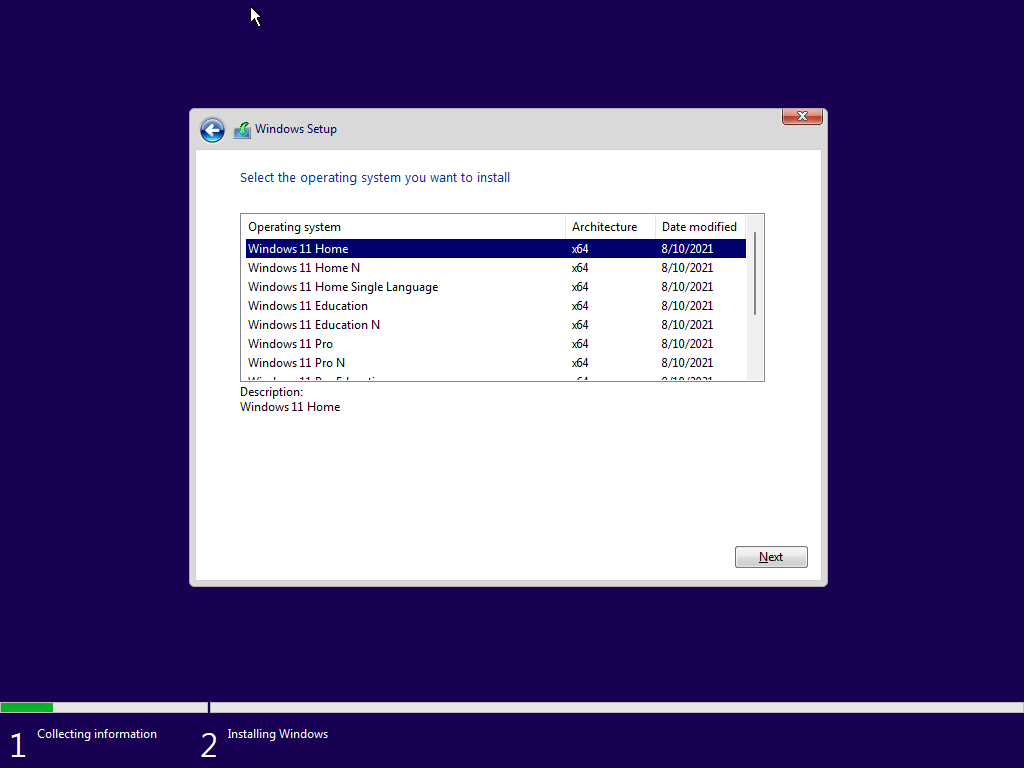
On the next screen select I don’t have a product key, then choose the Windows 11 edition that you want.
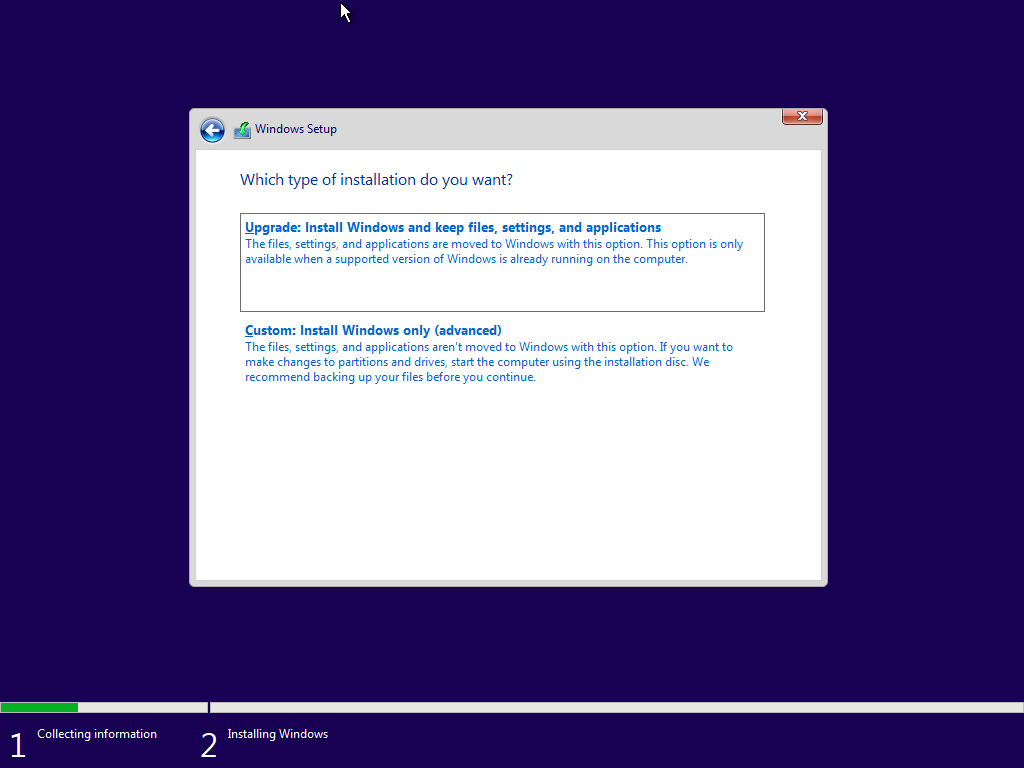
After accepting the terms select Custom: Install Windows only (advanced). Then select the hard drive and click Next.

All that is left to do is to wait for the installer to copy the files. After the installer reboots the machine a couple of times you will see a Windows 11 setup screen.
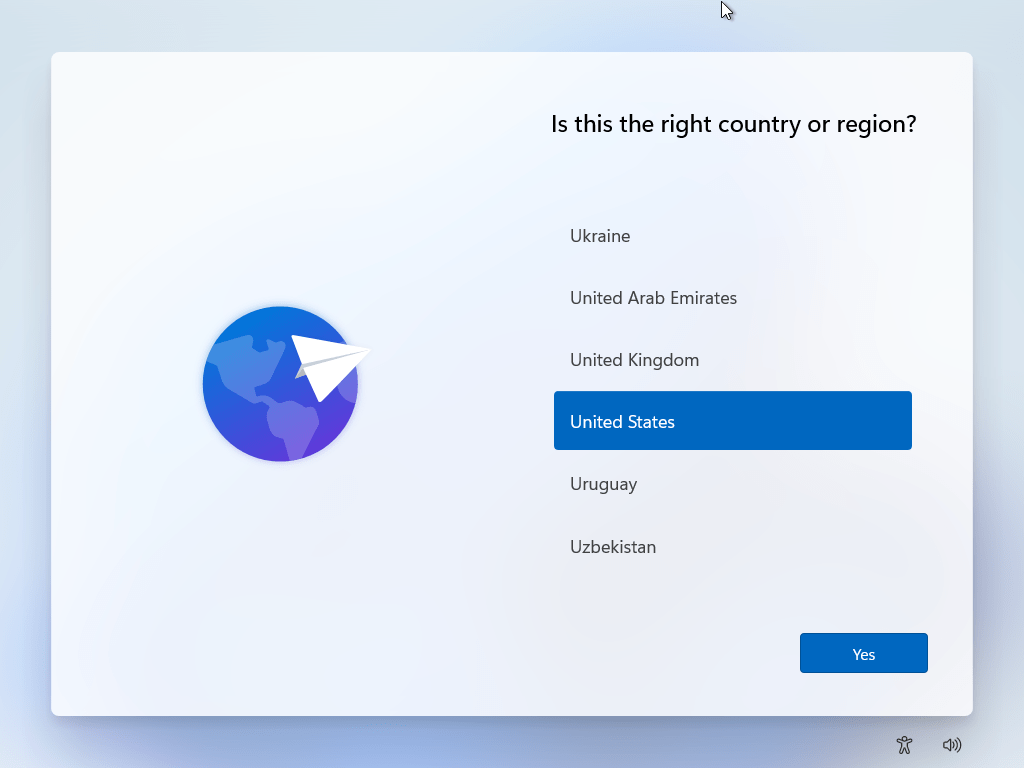
After this the process is very straightforward: just choose your country and keyboard layout, name your virtual PC, and create a user account. You can also add your Microsoft account.
After you finish going though the steps and Windows 11 updates itself, you can finally login into the system.