
Last updated on February 14th, 2022 at 07:44 am
Introduction
Microsoft haven’t changed much the way you can take screenshots in Windows 11. Taking a screenshot in the new Windows release is as easy and, unfortunately, as inconvenient as it was in Windows 10.
There are a few tools that could help you, however. Most screenshot taking programs allow you to automatically upload your screenshot to the cloud and get a link, so that you can share the image.
In this tutorial we will take a look at a few programs you can use to make taking and sharing screenshots easier.
Use Print Screen and MS Paint
This is the easiest method that doesn’t require any additional software.
Capture Screenshot
Press PrtSc button on your keyboard and Windows 11 will save your screenshot to the clipboard. If you press Alt+PrtSc instead, Windows will capture the active window.
Paste the contents of the clipboard
Now press the Windows button or click Start. Then type “paint“, and you will see the Paint app appearing in the search results.
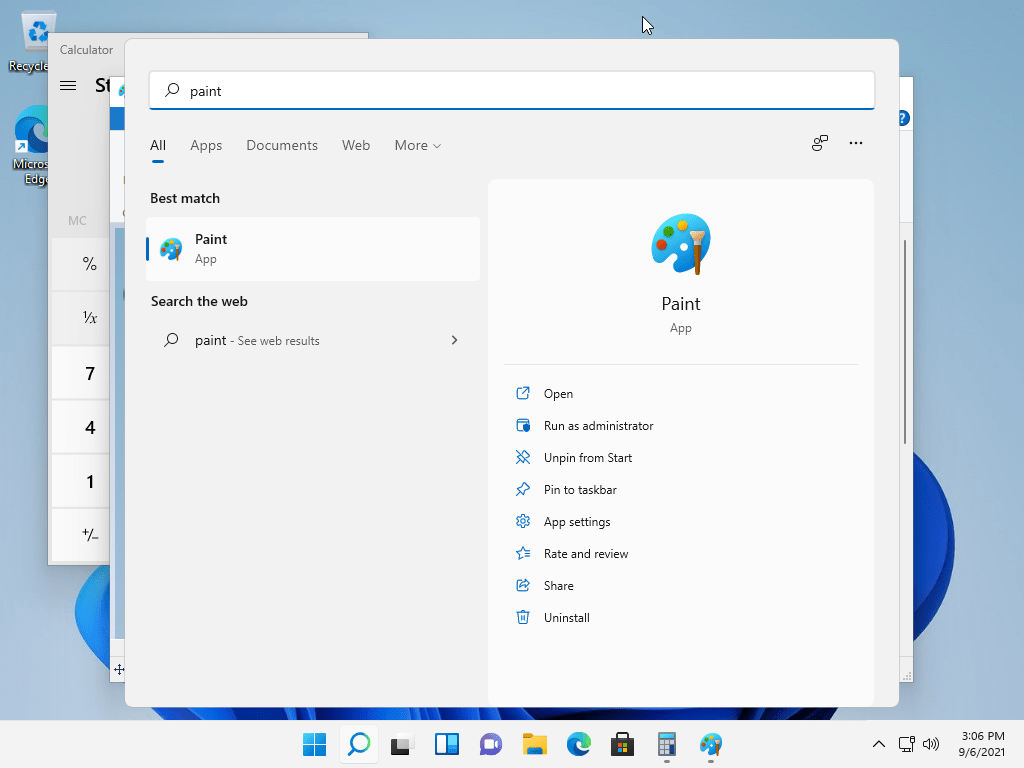
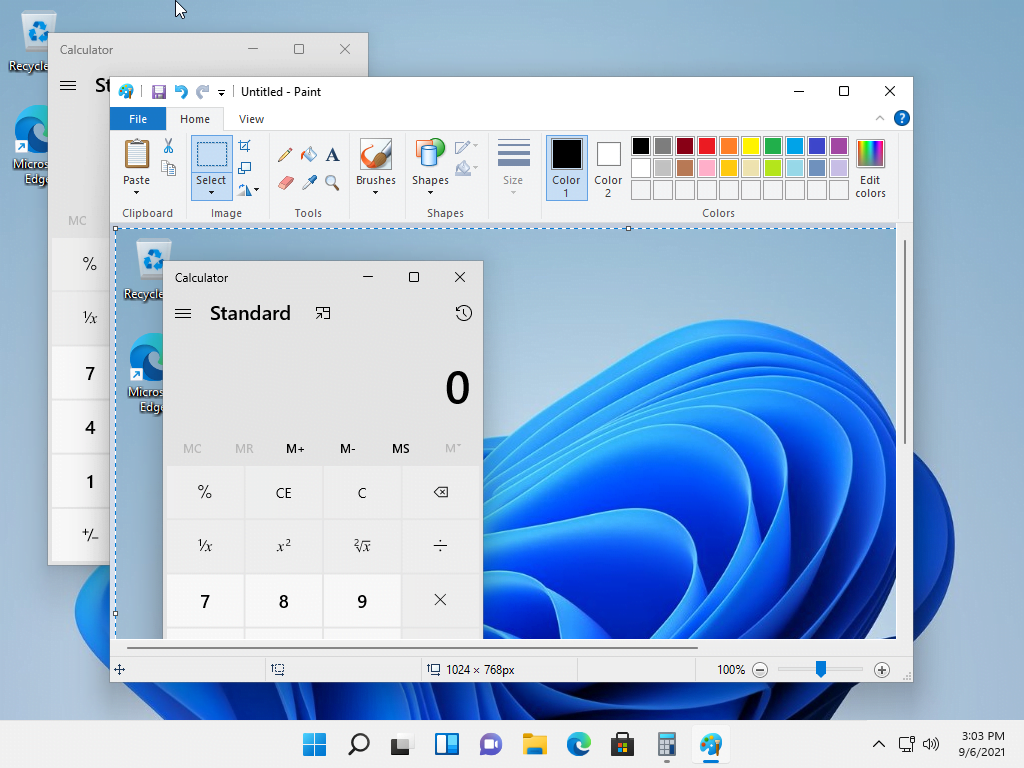
Click on it and the graphics editor window will appear. Now press Ctrl+V and you will see your screenshot in the Paint app.
Tip:
You can also paste the screenshot into any other program that supports pasting images from the clipboard, e.g. Word, Photoshop, etc.
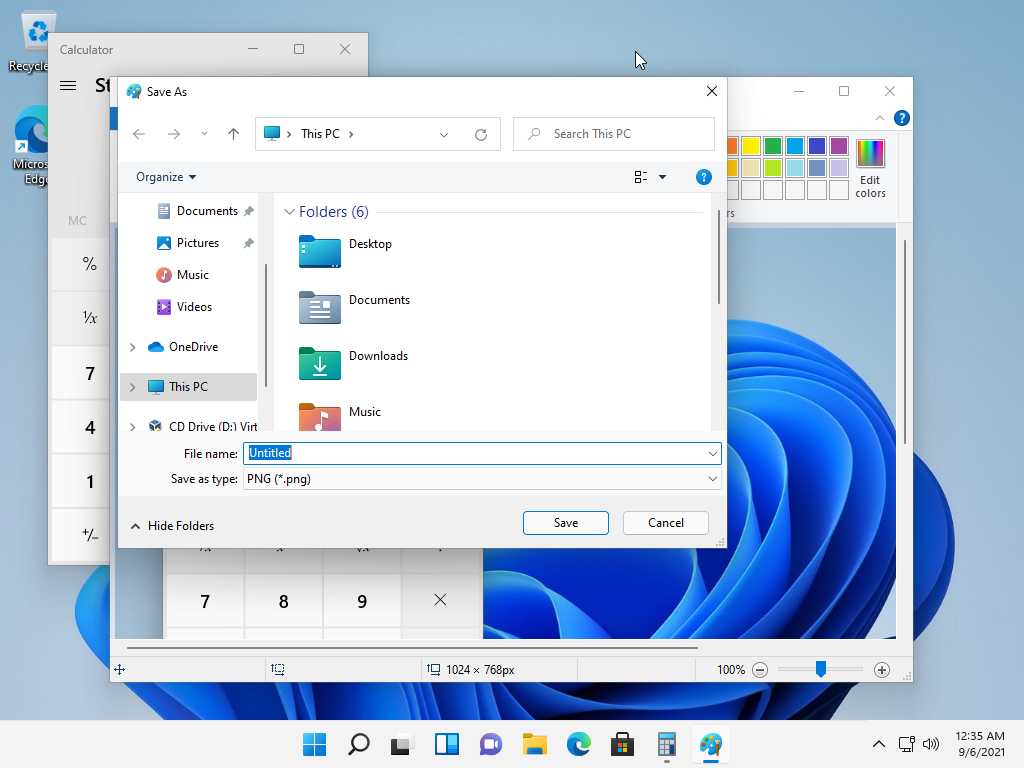
After that click File > Save to save the screenshot, select a desired folder and press Save.
If you want to upload the screenshot after capturing it, you need to do it manually.
ShareX allows you to automatically upload screenshots to an image hosting service and copy the image link to your clipboard. This means that you can take and share a screenshot with just 2 clicks, instead of doing the whole process manually.
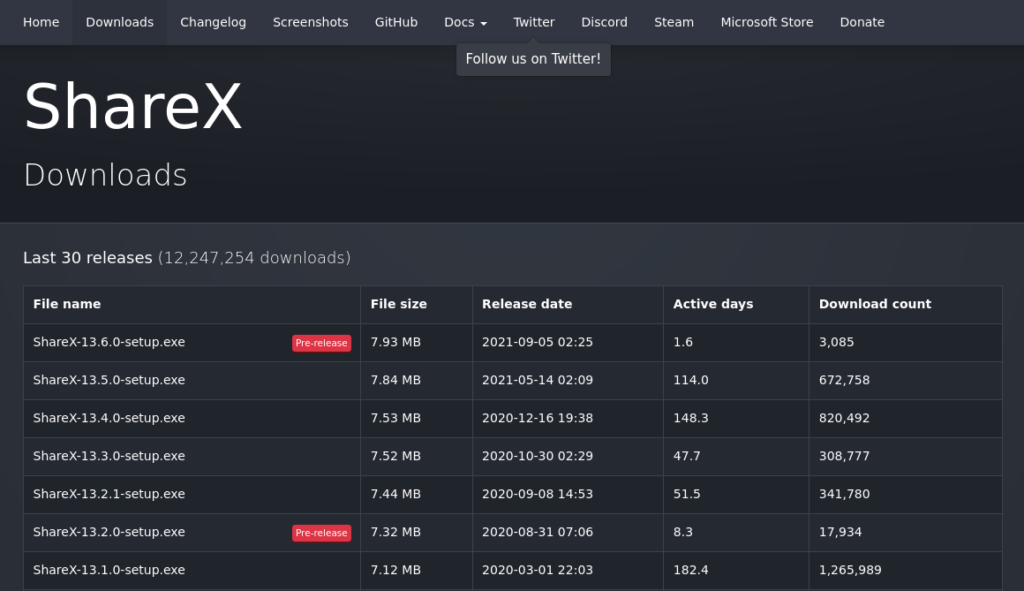
Head to the ShareX website and get the latest version, then double click on the downloaded file and install ShareX.
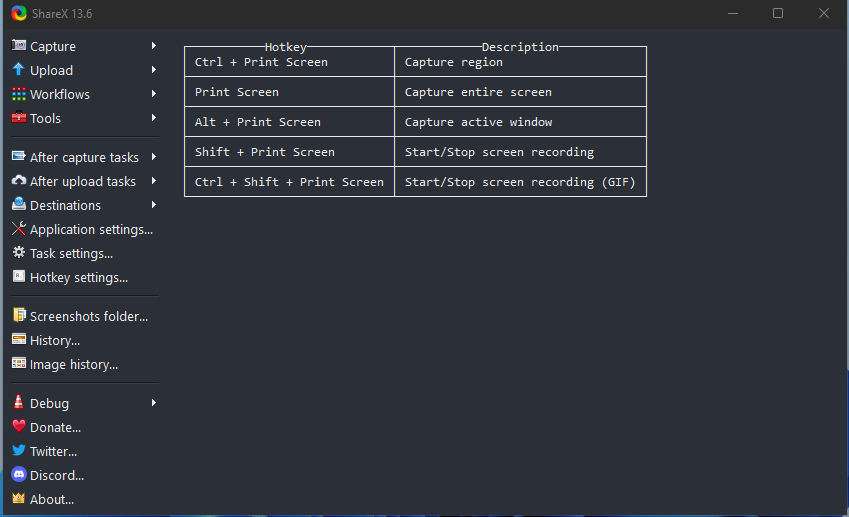
Launch ShareX and you will see a list of hotkeys.
Capture Screenshot and Upload It to the Cloud
Press PrtSc to capture the entire screen, Ctrl + PrtSc to capture a region, or Alt + PrtSc to capture the active window. You will see a warning that ShareX is about to upload your screenshot to an image hosting service.
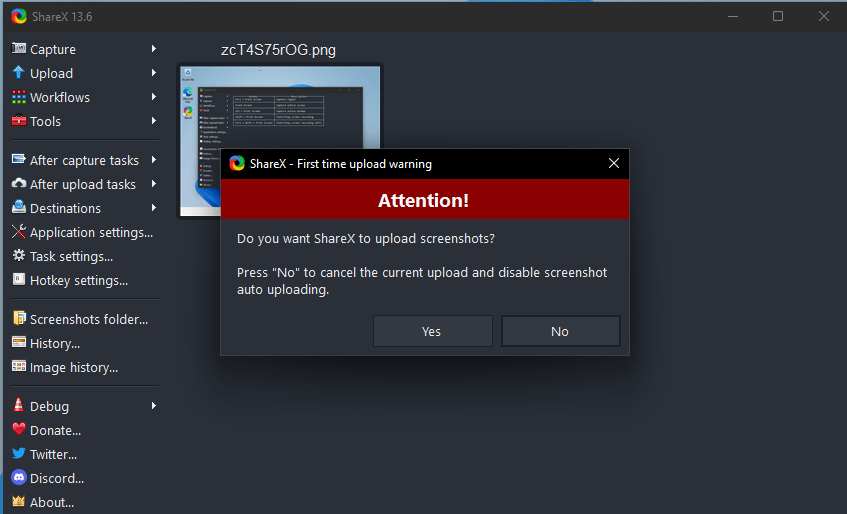
Select Yes if you want to upload the screenshot and get a link, otherwise select no.
Tip:
Make sure you don't have any sensitive information on the screen when you upload images to the image hosting service through ShareX.
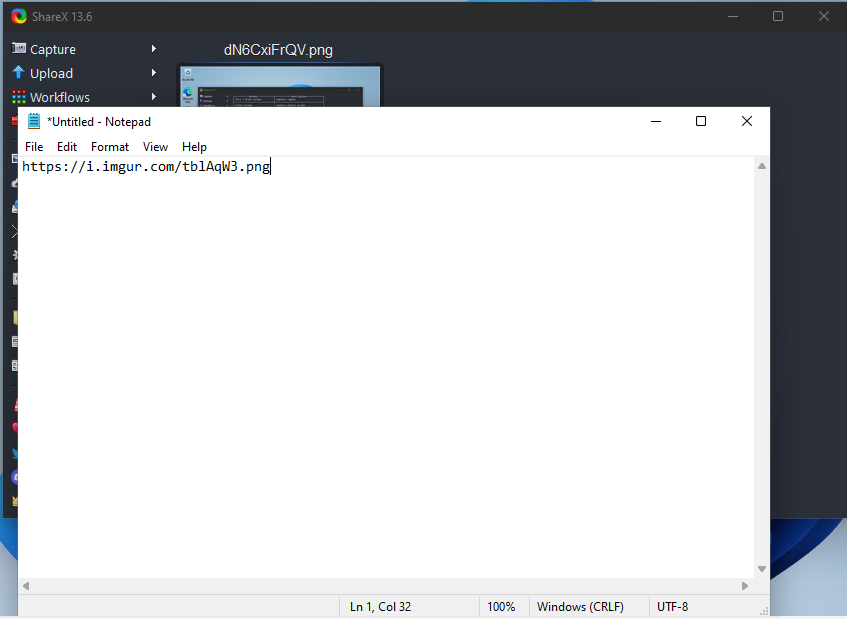
If you selected Yes, just paste the image link into the desired program.
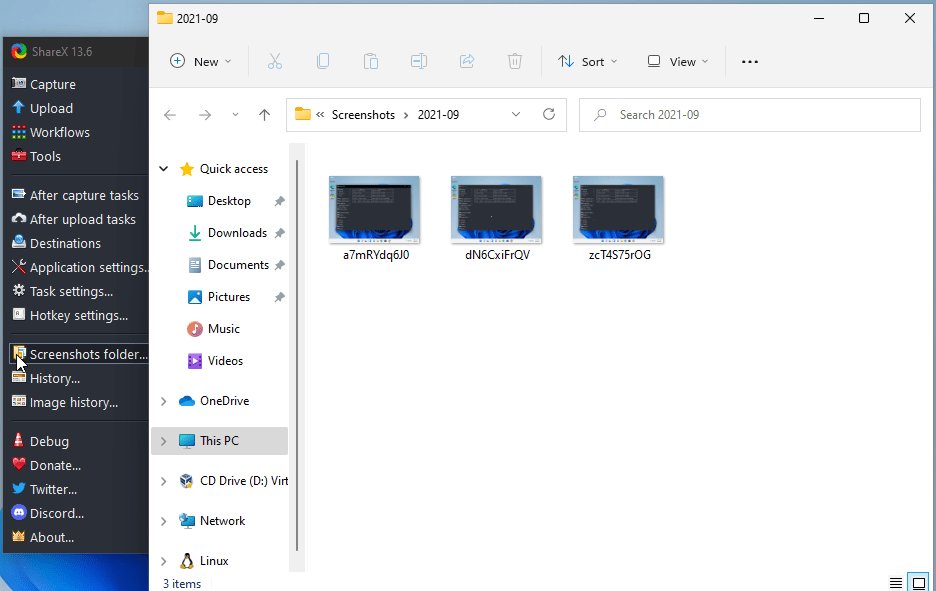
If you selected No, just click on Screenshots folder… in the left menu. ShareX will open a folder with your screenshots. You can also find your screenshots in C:\Users\[your_user_name]\Documents\ShareX\Screenshots folder.
Greenshot
Greenshot is a nice alternative to ShareX. It comes with a bunch of different plugins that allow you to upload screenshots to many different online services, such as Dropbox, Imgur, Flickr, Photobucket, etc.
Install Greenshot
Head to the Greenshot website, download the latest version and install it.
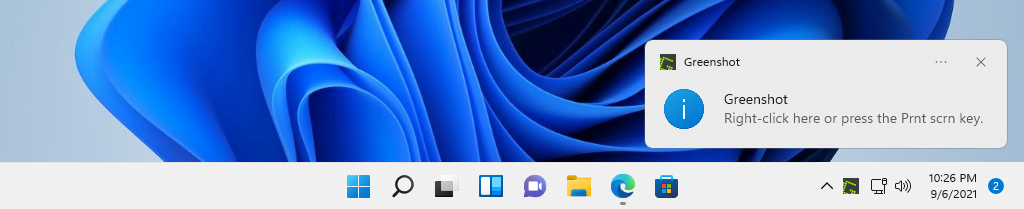
Launch Greenshot and it will show you a notification that the program loaded.
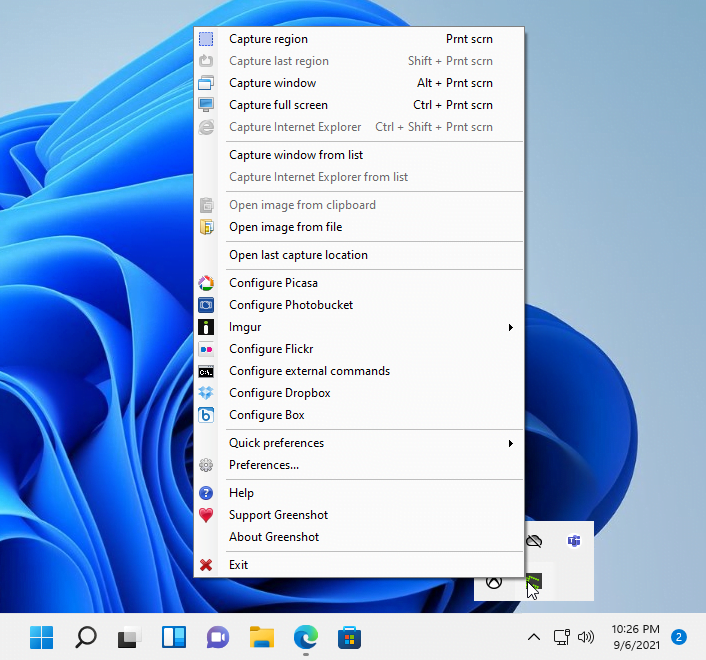
You can right-click on Greenshot icon in the taskbar corner to see the list of hotkeys and other options.
Capture Screenshot and Upload It or Save Locally
To take a screenshot press Print Screen to capture a region, Alt+PrtSc to capture the active window, or Ctrl+PrtSc to capture the entire screen. The menu will appear where you can select what you want to do with your screenshot.
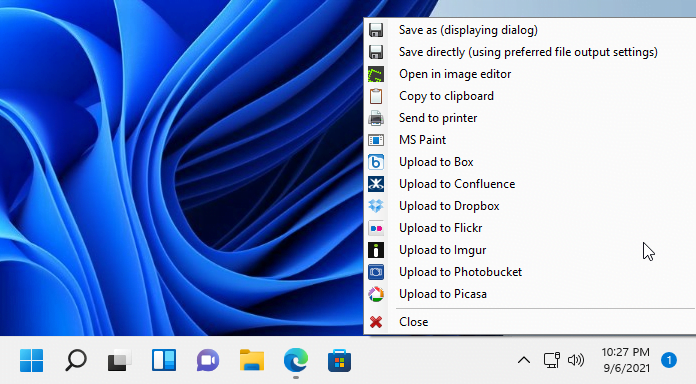
You can upload the screenshot to quite a few different websites or services or save it locally.