
Last updated on May 9th, 2022 at 07:04 pm
Introduction
In this guide I will show you how to install Archlinux and get to a working GNOME desktop as quickly as possible.
Installing Archlinux can be a bit overwhelming if you have never done that before. If using a command line to complete the install seems a bit over the top for you, you can use a command line installer which will make the process much much easier. Check out our How to install Arch Linux using installer guide.
If you would rather prefer a graphical installer, check out our Manjaro installation guide. Manjaro is based on Archlinux and offers a very nice graphic UI during the setup.
Prerequisites
x86_64-compatible machine with at least 1 GiB of RAM
While 512 MiB of RAM will be enough to run a console, it’s not enough to boot the live installation media, and if you want to install a desktop environment, then it would be better to have at least 2 GiB of RAM.
Working Internet connection
Archlinux relies heavily on a working internet connection to download the packages during the installation. So, make sure that your computer is connected to the Internet before you begin. A cable connection will save you a lot of time, so if you have a spare network cable, just connect it to your router. WiFi is much easier to set up later.
Disabled Secure Boot
Archlinux installation media cannot be booted with secure boot enabled. Make sure it’s disabled before you proceed.
Step 1. Download the installation image
Head to the official download page, choose a mirror close to you and download the installation media. Verify the checksum if you need and create a bootable USB stick by using dd on Linux, Balena Etcher on Linux or Windows, or Rufus on Windows.
Step 2. Boot the installation media
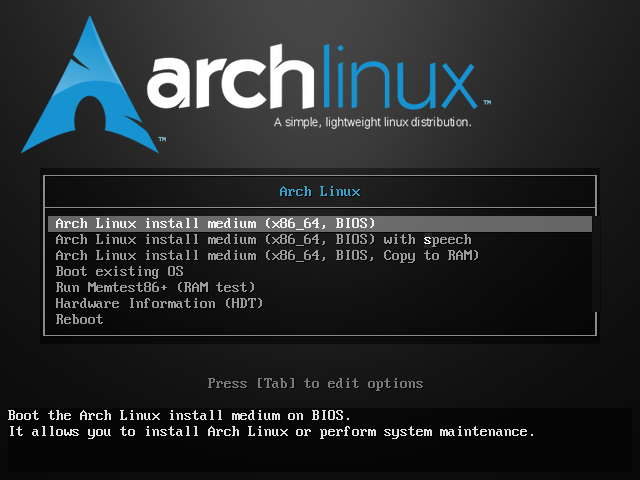
You’ll see this simple boot screen. The default top choice is good in most cases, so just press Enter.
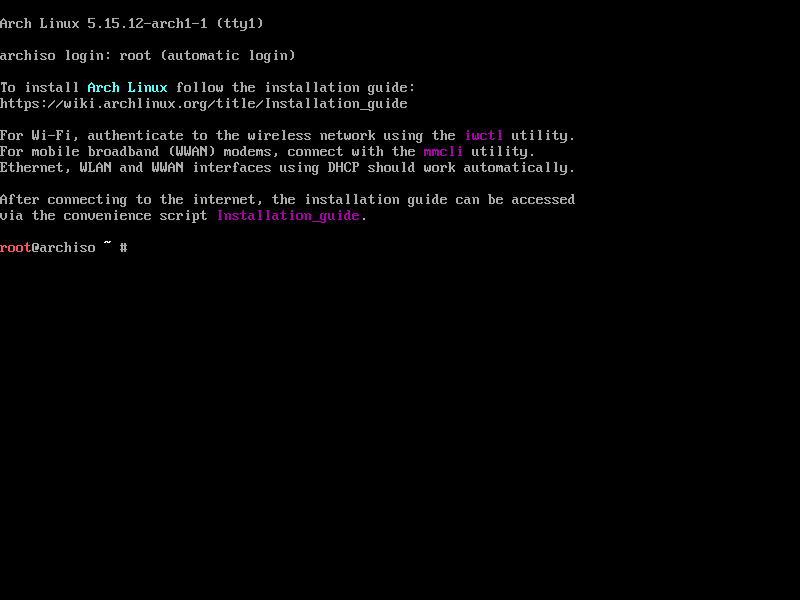
Step 3. Connect to the Internet
Ethernet
If you’ve never installed Archlinux before, don’t panic. First thing that you need to do is to connect to the Internet. If you have an internet cable connected to your computer, then you are probably already connected. Just type
ping archlinux.orgAnd if you have a working Internet connection, you should see something similar to this:
root@archiso  ~ # ping archlinux.org
PING archlinux.org (95.217.163.246) 56(84) bytes of data.
64 bytes from archlinux.org (95.217.163.246): icmp_seq=1 ttl=47 time=298 ms
64 bytes from archlinux.org (95.217.163.246): icmp_seq=2 ttl=47 time=297 ms
64 bytes from archlinux.org (95.217.163.246): icmp_seq=3 ttl=47 time=297 ms
64 bytes from archlinux.org (95.217.163.246): icmp_seq=4 ttl=47 time=297 ms
64 bytes from archlinux.org (95.217.163.246): icmp_seq=5 ttl=47 time=298 ms
Press Ctrl+C to stop the ping.
Wi-Fi
Check your network interfaces
If your computer is connected to the Internet through WiFi, however, the process becomes a bit more complicated. In this case run
ip linkThis is the output from my laptop. As you can see, I have 3 network interfaces, and one loopback interface.
root@archiso ~ # ip link
1: lo: <LOOPBACK,UP,LOWER_UP> mtu 65536 qdisc noqueue state UNKNOWN mode DEFAULT group default qlen 1000
    link/loopback 00:00:00:00:00:00 brd 00:00:00:00:00:00
2: wwp0s29u1u4: <BROADCAST,MULTICAST,NOARP,UP,LOWER_UP> mtu 1500 qdisc fq_codel state UNKNOWN mode DEFAULT group default qlen 1000
    link/ether 6a:c1:4d:8e:62:c7 brd ff:ff:ff:ff:ff:ff
3: enp0s25: <NO-CARRIER,BROADCAST,MULTICAST,UP> mtu 1500 qdisc fq_codel state DOWN mode DEFAULT group default qlen 1000
    link/ether 54:ee:75:1e:4a:bf brd ff:ff:ff:ff:ff:ff
4: wlan0: <BROADCAST,MULTICAST,UP,LOWER_UP> mtu 1500 qdisc noqueue state DOWN mode DORMANT group default qlen 1000
    link/ether e8:b1:fc:d3:b6:20 brd ff:ff:ff:ff:ff:ff
Notice the state for all of them is either UNKNOWN or DOWN, which means that they are not connected to the network.
I am interested in the wlan0 interface, since this is my wireless connection (wlan stands for wireless lan). I need to change its state to UP.
Launch iwctl and list Wi-Fi interfaces
To do this, first run
iwctlYou’ll see a similar output:
root@archiso ~ # iwctl
NetworkConfigurationEnabled: disabled
StateDirectory: /var/lib/iwd
Version: 1.20
[iwd]#
Make sure that the command prompt changed to [iwd]# as in my case.
I already know the name of my wireless interface, but you might not. So, first, let’s list all WiFi interfaces and check their names. Type
[iwd]# device listYou should see at least one WiFi interface (wlan0 in my case). Remember its name.
[iwd]# device list
                                    Devices
--------------------------------------------------------------------------------
  Name                Address             Powered   Adapter   Mode
--------------------------------------------------------------------------------
  wlan0               d3:a5:ac:b4:a6:2a   on        phy0      station
List Wi-Fi networks and connect to yours
Next, as iwctl archlinux wiki says, you need to scan for available networks by typing
[iwd]# station device scanwhere device is the name of your WiFi interface (wlan0 in my case). And after that list the networks with
[iwd]# station device get-networkswhere, again, device is your WiFi interface.
On my laptop, however, I saw more networks if I just ran station wlan0 get-networks without scanning. My guess is that iwctl scans and sorts networks according to their signal strength, so if your WiFi network signal is weak, you might want to skip the scan command.
[iwd]# station wlan0 get-networks
                               Available networks                             *
--------------------------------------------------------------------------------
    Network name                    Security          Signal
--------------------------------------------------------------------------------
   SomeWifiNetwork                   psk               ****
   Yesyesyesyes_5G                psk               ****
   AsusWifiRouter                psk               ****
   AnotherWifiNetwork                psk               ****
   Nonononono_5G                psk               ****
After you run station device get-networks, you should see a similar output. Find your network in the list and type
[iwd]# station device connect SSIDwhere device is your Wi-Fi interface and SSID is your network name. After that you can check if you connected to your Wi-Fi by typing
[iwd]# station device showDon’t forget to replace device with your Wi-Fi interface name.
[iwd]# station wlan0 show
                                 Station: wlan0                               *
--------------------------------------------------------------------------------
  Settable  Property            Value
--------------------------------------------------------------------------------
            Scanning            no
            State               connected
            Connected network   SomeWifiNetwork
            IPv4 address        192.168.1.2
            IPv6 address        f357:8b37:a78f:2345:d795:cb94:a089:4622
            ConnectedBss        e5:c4:3a:45:b9:de
            Frequency           2452
            Security            WPA2-Personal
            RSSI                -36                  dBm
            AverageRSSI         -36                  dBm
            RxMode              802.11n
            RxMCS               15
            TxMode              802.11n
            TxMCS               15
            TxBitrate           130000               Kbit/s
            RxBitrate           130000               Kbit/s
Here is an output from my laptop. You can see that my interface’s state is connected and that I am connected to SomeWifiNetwork.
Type exit to go back to the shell, the input should change to
root@archiso ~ #then check if your internet connection is working by typing
ping archlinux.orgYou should see a response from archlinux server. If you type ip link, you will see that your wireless interface state has changed to UP.
Step 4. Partition the disks
Check the boot mode
After you’ve connected to the Internet, you can begin the installation process. First you need to prepare your disks. Let’s check if you are booted in BIOS mode or EFI mode. Type
ls /sys/firmware/efi/efivarsIf you see No such file or directory then you booted in BIOS mode, and if you see an output similar to this, it means that you booted in EFI mode.
AcpiGlobalVariable-af9ffd67-ec10-488a-9dfc-6cbf5ee22c2e    CpuProtocolSetupVar-7d4adce1-930d-40c7-9cd2-6d2148413dc7           LBOP0012-2a4dc6b7-41f5-45dd-b46f-2dd334c1cf65
MTC-eb704011-1402-11d3-8e77-00a0c969723b
System-e947fcf9-dd01-4965-b808-32a7b6815657
AcpiProtocolSetupVar-1054354b-b543-4dfe-558b-a7ad6351c9d8
CurrentPolicy-77fa9abd-0359-4d32-bd60-28f4e78f784b                 LBOP0013-2a4dc6b7-41f5-45dd-b46f-2dd334c1cf65
MailBoxQ-67c3208e-4fcb-498f-9729-0760bb4109a7
Timeout-8be4df61-93ca-11d2-aa0d-00e098032b8c
It’s important to know this because your partitioning scheme will be different, depending on which boot mode you will use. Here are suggested partitioning schemes from Archlinux wiki for UEFI and BIOS boot modes.
| Mount point | Partition | Partition type | Suggested size |
/mnt/boot | /dev/efi_system_partition | EFI system partition | At least 300 MiB |
[SWAP] | /dev/swap_partition | Linux swap | More than 512 MiB |
/mnt | /dev/root_partition | Linux x86-64 root (/) | Remainder of the device |
| Mount point | Partition | Partition type | Suggested size |
[SWAP] | /dev/swap_partition | Linux swap | More than 512 MiB |
/mnt | /dev/root_partition | Linux x86-64 root (/) | Remainder of the device |
Partition the disks
I will use the BIOS mode to show you an easy way to partition disks. However, it doesn’t mean that BIOS mode is the best choice. Also, you should be able to boot in BIOS mode to use it.
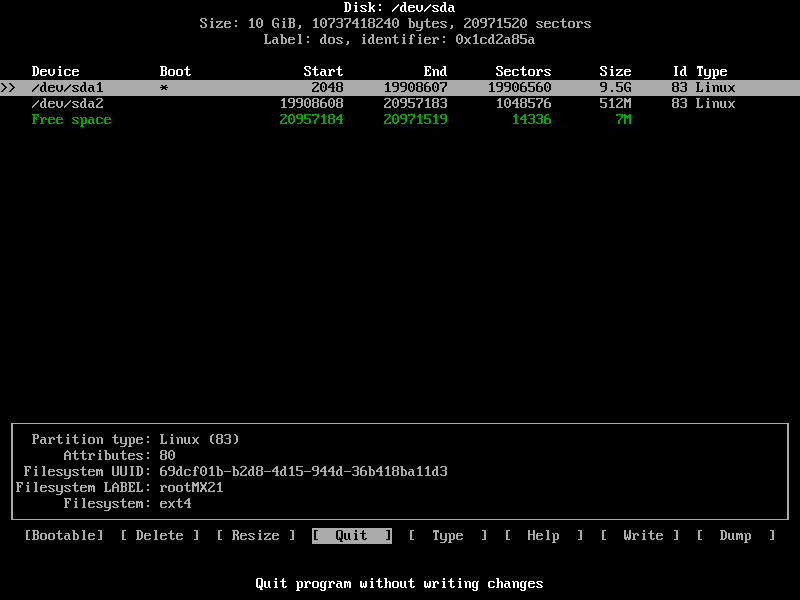
First of all, list all your drives with
fdisk -lYou will see a list of your disks which looks similar to this
root@archiso ~ # sudo fdisk -l
Disk /dev/sda: 10 GiB, 10737418240 bytes, 20971520 sectors
Disk model: VBOX HARDDISK
Units: sectors of 1 * 512 = 512 bytes
Sector size (logical/physical): 512 bytes / 512 bytes
I/O size (minimum/optimal): 512 bytes / 512 bytes
Disklabel type: dos
Disk identifier: 0x1cd2a85a

Device     Boot    Start      End  Sectors  Size Id Type
/dev/sda1  *        2048 19908607 19906560  9.5G 83 Linux
/dev/sda2       19908608 20957183  1048576  512M 83 Linux


Disk /dev/loop0: 715.43 MiB, 750182400 bytes, 1465200 sectors
Units: sectors of 1 * 512 = 512 bytes
Sector size (logical/physical): 512 bytes / 512 bytes
I/O size (minimum/optimal): 512 bytes / 512 bytes
In my case I only have one 10GiB drive which is referred to as /dev/sda by the system. It will most likely be different in your case. Ignore any results ending in rom, loop or airoot.
After you found the right drive (please, make sure it’s the correct drive, since all the data on this drive will be lost after you format it) type
cfdisk /dev/sdXwhere /dev/sdX is the name of your drive (/dev/sda in my case).
If your disk was partitioned before and you can’t use your old partitioning scheme (you probably can’t, unless you had a linux installation before), delete the old partitions first be selecting them and pressing Delete.
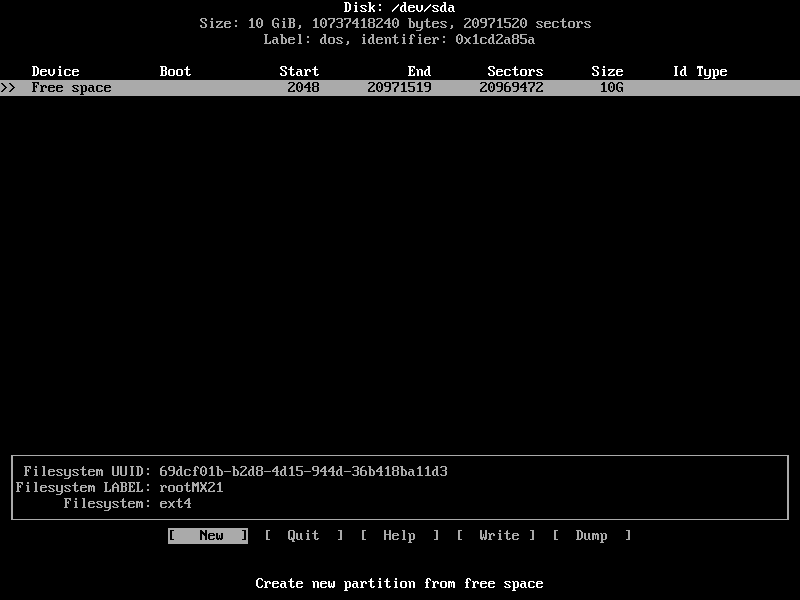
Now create two partitions, one for the file system and another one for SWAP by pressing New and entering their size. Choose Primary when cfdisk asks you if you don’t know what it means.
In my case I have a 10GiB drive, so I will use 1GiB for swap and 9 GiB for the system.
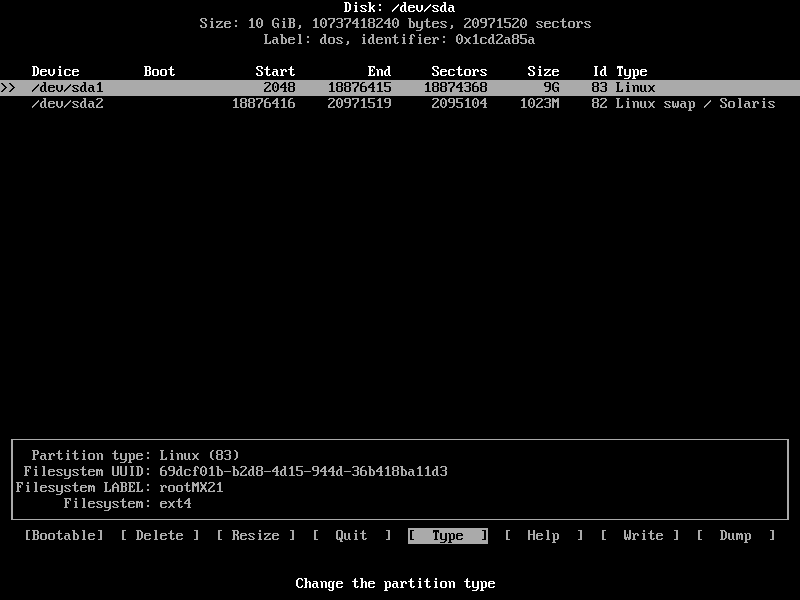
Make sure that the system partition’s type is 83 and swap partition’s type is 82. Change their Type if it’s not the case.
Now select the system partition and press Bootable to add the Boot flag. An asterisk will appear under Boot
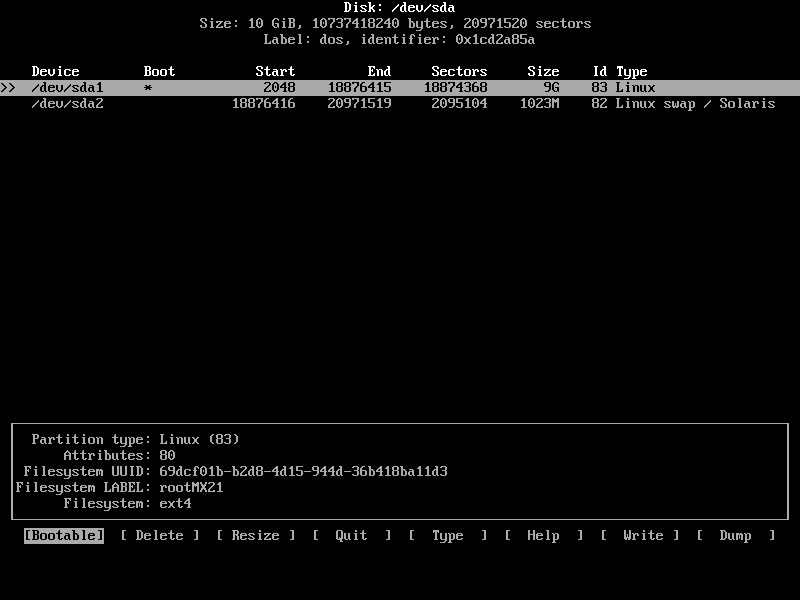
Choose Write and type Yes to write the changes to the disk. Then press Quit to go back to the shell.
Create a filesystem
Now you need to create a file system on your partitions. If your root partition was /dev/sdx1, type
mkfs.ext4 /dev/sdx1where /dev/sdx1 is your root partition. Note that there is a number at the end.
This is my output
root@archiso ~ # mkfs.ext4 /dev/sda1
mke2fs 1.46.4 (18-Aug-2021)
/dev/sda1 contains a ext4 file system labelled 'rootMX21'
	last mounted on / on Mon Jan 31 06:14:58 2022
Proceed anyway? (y,N) y
Creating filesystem with 2359296 4k blocks and 589824 inodes
Filesystem UUID: 0f92c5f8-c0ab-4acd-99b1-68700fa812ee
Superblock backups stored on blocks:
	32768, 98304, 163840, 229376, 294912, 819200, 884736, 1605632

Allocating group tables: done
Writing inode tables: done
Creating journal (16384 blocks): done
Writing superblocks and filesystem accounting information: done
Similarly, create a swap file system by typing
mkswap /dev/sdX2where /dev/sdx2 is your swap partition.
My output looks like this:
root@archiso ~ # mkswap /dev/sda2
Setting up swapspace version 1, size = 1023 MiB (1072689152 bytes)
no label, UUID=d1a47438-7807-4ddf-9d8a-d5dbeaa869a4
Mount the partitions
After that you can mount your root filesystem to /mnt by typing
mount /dev/sdx1 /mntwhere /dev/sdx1 is your root filesystem. Enable swap by typing
swapon /dev/sdx2Replace /dev/sdx2 with your swap partition.
Step 5. Select the mirrors and install essential packages
Select the mirrors
To get the packages you need to choose the right mirrors first. Type
reflector --country Germanyto check the available mirrors. Replace Germany with your own country.
If the output is too large, you can always pass it through more or less utility like this
reflector --country Germany | moreIf you found any mirrors, you should save them to /etc/pacman.d/mirrorlist. Run
reflector --country Germany --save /etc/pacman.d/mirrorlistCheck that the list was saved by typing
cat /etc/pacman.d/mirrorlistYou should see the same mirrors that reflector showed you earlier.
Install the essential packages
Now install the essential packages by typing
pacstrap /mnt base linux linux-firmwareThis is where Archlinux starts to differ from the other distributions in a very good way. Note that here you can choose which packages to install. These are only the essential packages to get you to the command line after boot. Of course, you most likely need more than this.
Which other packages to choose is completely up to you, so you should make your research. Since I usually choose gnome as my desktop environment and I also want an easy-to-set-up network manager, my list usually looks something like this:
pacstrap /mnt base linux linux-firmware alsa-utils cryptsetup dhclient dhcpcd dnsmasq gnome grub hdparm less man-db man-pages nano networkmanager nmap openssh openvpn parted reflector sudo zshIn no way this is a one-fits-all list. If you want another desktop instead of gnome, then just replace gnome package with a desktop of your choice.
Also note, that if you are installing gnome, you might get some package integrity problems like this one
(543/543) checking package integrity                                                                                                                                                           [########################################################################################################################] 100%
error: libspeechd: signature from "Alexander Epaneshnikov <[email protected]>" is unknown trust
In this case update the keys by typing
pacman-key --refresh-keysThen install the packages again.
Step 6. Configure the system
Archlinux wiki suggests you also set the timezone and localization from the command line, but in my opinion its much easier to do from a working desktop environment, so we’ll move on to fstab
Generate fstab
Just type
genfstab -U /mnt >> /mnt/etc/fstaband check if the file was generated correctly with
cat /mnt/etc/fstabChroot into the system
Type
arch-chroot /mntto chroot into your new system. You will see that the command prompt has changed to [root@archiso /]#.
root@archiso ~ # arch-chroot /mnt
[root@archiso /]#
Create an initial ramdisk environment
Run
[root@archiso /]# mkinitcpio -PNote, that for LVM, system encryption and RAID the mkinitcpio presets should be different. Refer to Archlinux wiki in this case.
My output
[root@archiso /]# mkinitcpio -P
==> Building image from preset: /etc/mkinitcpio.d/linux.preset: 'default'
  -> -k /boot/vmlinuz-linux -c /etc/mkinitcpio.conf -g /boot/initramfs-linux.img
==> Starting build: 5.16.5-arch1-1
==========================CUT HERE=============================
==> Generating module dependencies
==> Creating zstd-compressed initcpio image: /boot/initramfs-linux-fallback.img
==> Image generation successful
Step 7. Install the bootloader
Install GRUB
GRUB is not the only bootloader that you can install. However, in most cases it’s probably the best choice. install GRUB by typing
[root@archiso /]# grub-install /dev/sdXwhere /dev/sdX is the disk that you used to install Archlinux to. In my case it’s /dev/sda. Check that there were no errors
[root@archiso /]# grub-install /dev/sda
Installing for i386-pc platform.
Installation finished. No error reported.
If you are using UEFI, then the process will be more difficult. Take a look at GRUB Installation manual if that’s the case.
Generate GRUB configuration file
If you installed GRUB, then the system won’t boot without a configuration file. Run
[root@archiso /]# grub-mkconfig -o /boot/grub/grub.cfgto create one.
Set root password
Type passwd to set up a new password. Then exit the chroot environment and reboot by typing exit and then reboot.
Step 8. Boot into your new system
If everything went without problems, you should see this screen after you reboot.

Choose Arch Linux. It will take you to the command line.

We are almost done. Time to launch the desktop environment. Login as root and type these 2 commands. The first one will make sure GNOME is started automatically after the next boot. And the second one will launch GDM, which stands for GNOME Display Manager.
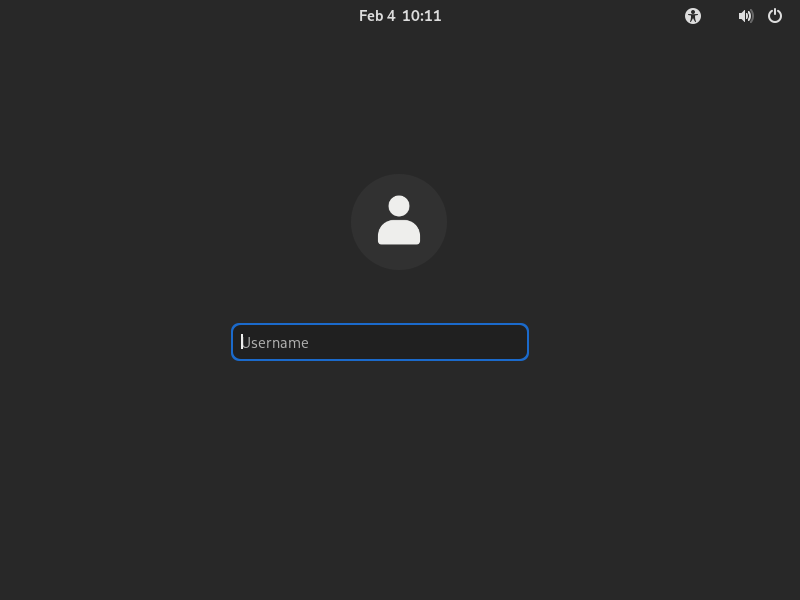
systemctl enable gdm.servicesystemctl start gdm.serviceYou will now see a GNOME login screen. Congratulations!
Login as root now (you should switch to a limited user after that).
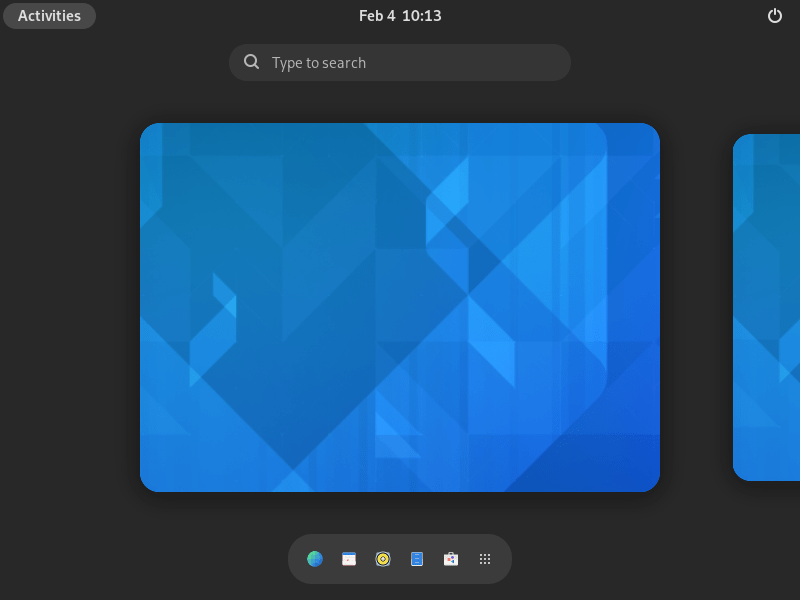
Enjoy your new system!