
Last updated on February 14th, 2022 at 07:48 am
Introduction
In this tutorial we’ll show you how to run your own mail server on Ubuntu 18.04 with Mail-in-a-Box.
Mail-in-the-box is an open-source easy-to-deploy mail server. It’s a “one-click solution” that installs various component that an e-mail user needs, such as:
- Roundcube for Webmail;
- Postfix for SMTP, Dovecot for IMAP, Nextcloud for CardDAV/CalDAV, Z-push for Exchange ActiveSync;
- Spamassassin and Postgrey for spam filtering and greylisting;
- NSD4 for setting DNS records automatically;
- Duplicity for backups, UFW for managing a netfilter firewall, Fail2ban for intrusion protection and Munin for system monitoring;
- HTTPS TLS certificates can be automatically provisioned by Let’s Encrypt.
System Requirements
Mail-in-a-box has very specific requirements. Make sure to check if your server meets them before you start. It requires the following:
- A fresh Ubuntu 18.04 server (you can’t modify it after installation, which means that you can only use the machine for the mail server);
- The server must have at least 512MB of RAM;
- You need to own a fully qualified domain name (FQDN);
- Your domain registrar needs to support setting custom nameservers and glue records (we’ll explain this later in the tutorial).
- Because mail-in-the-box handles setting DNS records automatically, it’s recommended to avoid certain domain names. You can check the list on the Mail-in-the-box website.
1. Choose a name for your email server.
You need to choose a name to set up the glue records for your domain and to set up the mail server itself later. We recommend you to choose a subdomain as your email server name. For example, if you own a domain name mydomain.com, then you can choose to have box.mydomain.com as your email server name.
Note, that in that case you don’t need to include your subdomain name in your email address, which means that you can still have an email address like [email protected] or any other name that you choose.
2. Set up glue records for your domain.
You can skip this part and do it after setting up the mail server, but we recommend setting up the glue records before the installation. In that way after the installation you can check that your server is working properly and all the glue and DNS records are set correctly. However, updating DNS records can take up to 24 hours, depending on the registrar.
We will show how to set up glue records using Moniker as an example. Different registrars have different web interface, and sometimes different settings, so if you have a different registrar, these settings might have different names and also the process might be slightly different.
Go to the domain settings and click on Own Nameservers (Glue Records) tab.
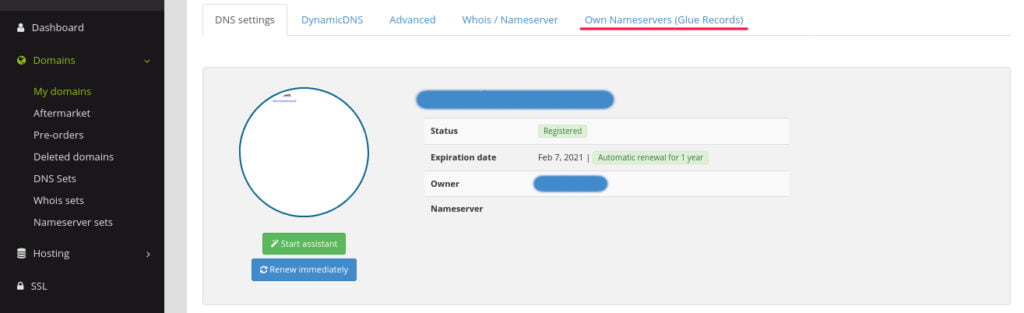
Set the glue records to ns1.box.yourdomainname.com and ns2.box.yourdomainname.com.
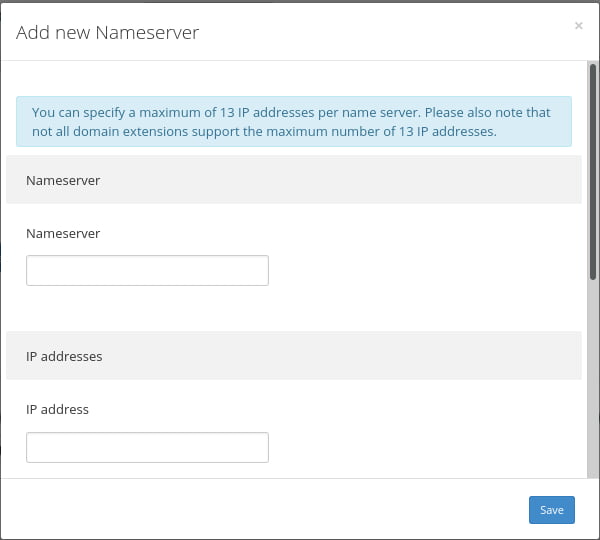
You will get the IP address to put into the “IP address” field when you create your virtual server on the next step.
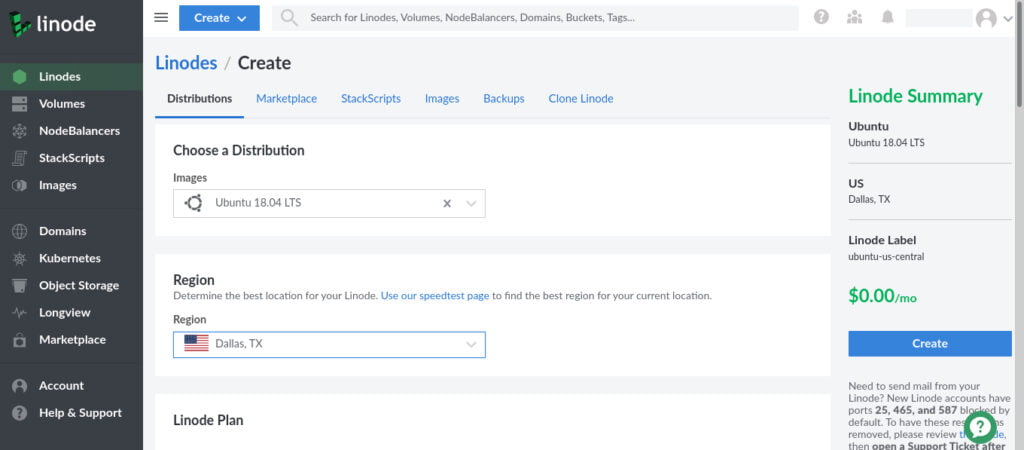
3. Create a virtual server
We are going to use Linode as our cloud service provider.
Create a virtual server and choose Ubuntu 18.04 as its operating system.
Make sure to choose a strong SSH password, as anyone who can guess the password will be able to access your virtual server. We recommend to use an SSH key and turn off SSH password access later.

Don’t forget to turn on backups, so that you will be able to restore your emails if something unexpected happens, and ask Linode support to open necessary mail ports for you.
4. Install Mail-in-a-Box
SSH into your fresh Ubuntu server. If your are using a phone, you can use Termux as an SSH client. You can install Mail-in-a-Box by typing:
curl -s https://mailinabox.email/setup.sh | sudo -E bashYou will see the following output.
root@localhost:~# curl -s https://mailinabox.email/setup.sh | sudo -E bash
Downloading Mail-in-a-Box v0.50. . .

Installing packages needed for setup...
After that the installation wizard will start.
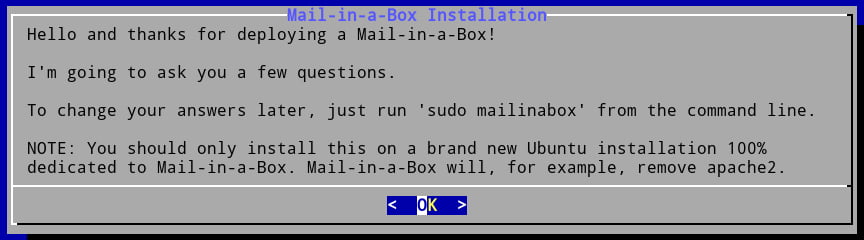
Press “Enter”.
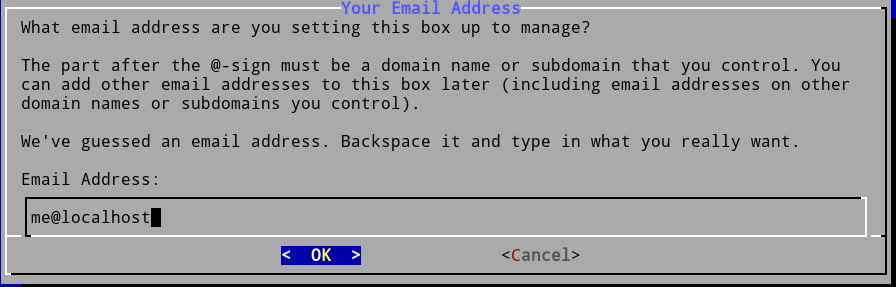
On the next screen you should enter the email address that you want. Note that you should replace “localhost” with your domain or subdomain name. For example, if you own a domain “mydomain.com” and you want to setup the email “[email protected]“, then you should enter “[email protected]“.
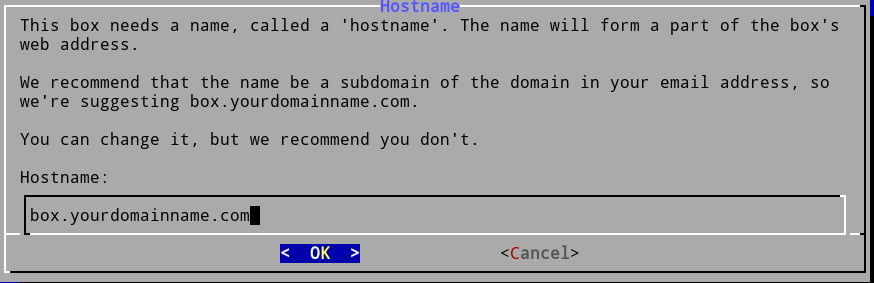
After you have entered the desired email address, you should select the hostname for your server. To put it simply, it’s a web address that you’ll use to access the server. In our case, Mail-in-a-box recommends the name to be “box.mydomain.com”. It will be different in your case. We recommend to leave the default name, suggested by Mail-in-a-box for your domain.
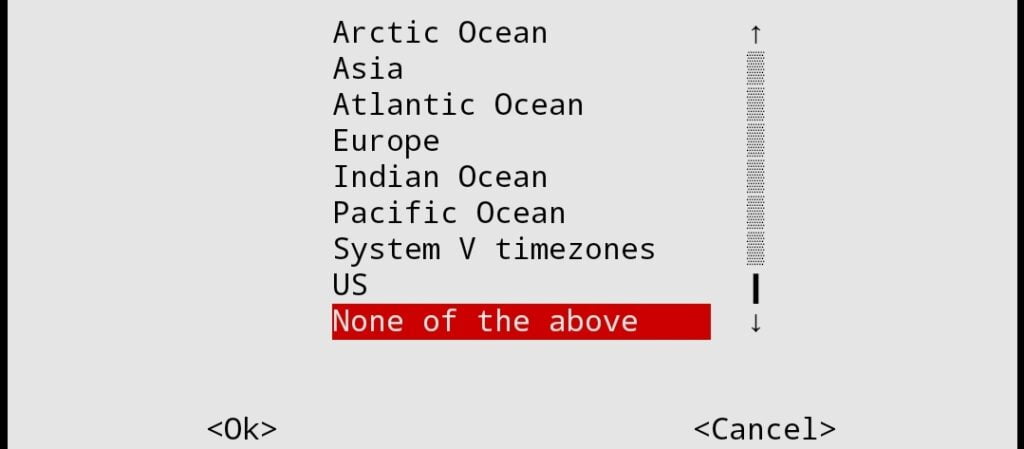
Select the right time zone for your server.
Output:
Current default time zone: 'Asia/Hong_Kong'
Local time is now:      Tue Oct  6 17:14:21 HKT 2020.
Universal Time is now:  Tue Oct  6 09:14:21 UTC 2020.
Check that the local time is correct and wait for the setup to finish installing server components.
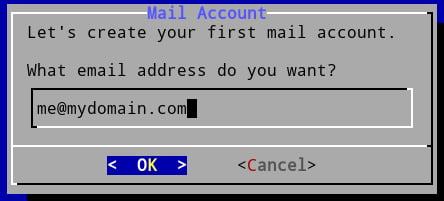
Enter the email address that you want to create, then enter the password for the web interface. This password will also be used for accessing the admin panel.
Output:
Your Mail-in-a-Box is running.

Please log in to the control panel for further instructions at:

https://box.mydomain.com/admin
5. Login to your server
Use the link in the output message to access your server admin panel. If you have not set up the glue records yet, you can use your server IP address to access the panel. After you follow the link, you will most likely see a security warning similar to this:
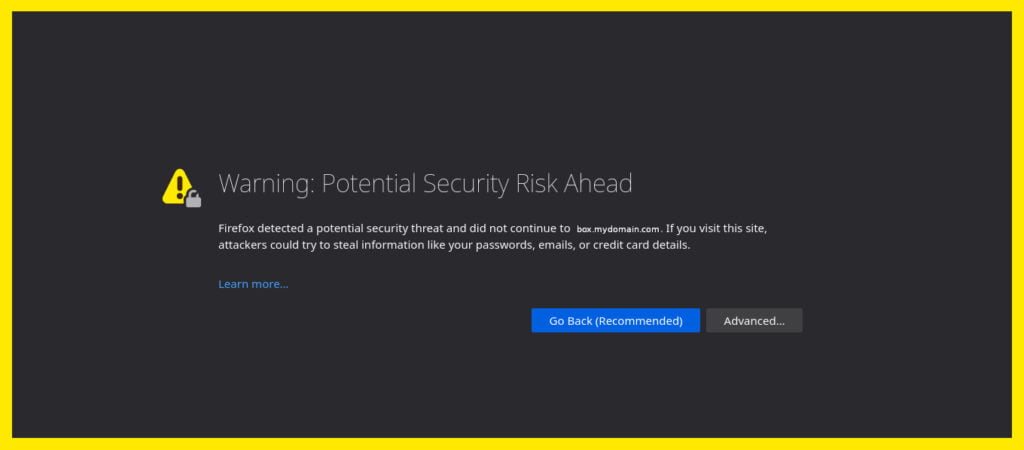
This warning appears because the server uses a self-signed SSL certificate after the installation finishes. You can add a security exception for your browser and then later issue a signed certificate with Let’s Encrypt through the admin panel.
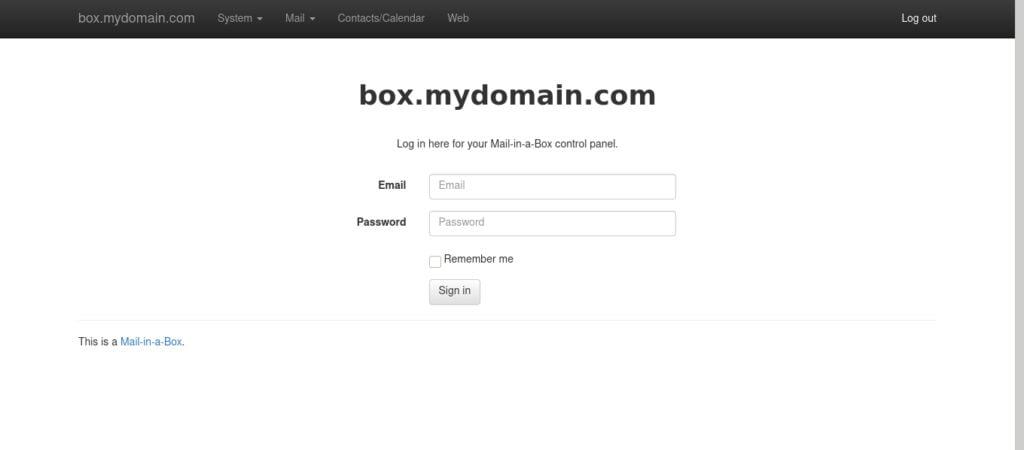
Now you can login using the email address that you have set up and the password that you entered during the setup.
6. Check the system status.
Now you might want to go to System > Status Checks to see if everything is setup properly.

7. Set up reverse DNS
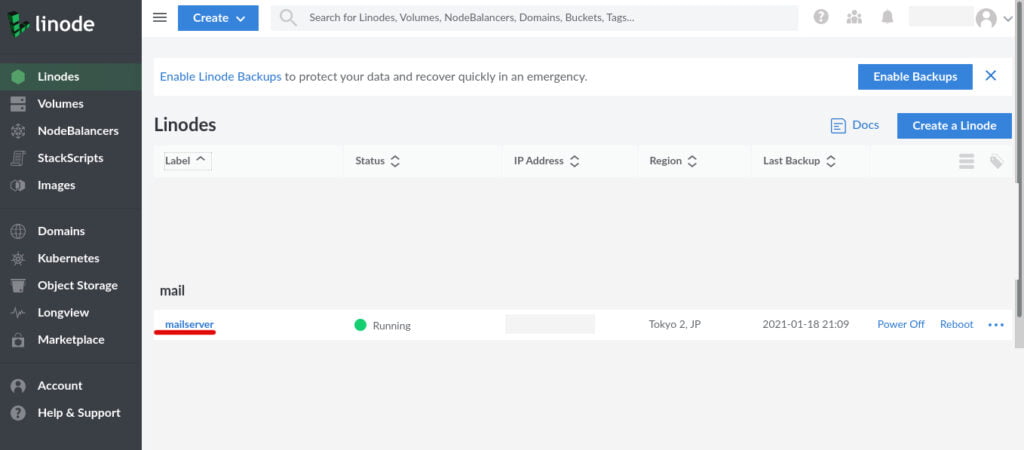
We’ll show you how to do it in Linode admin panel.
Login to your account, go to Linodes tab and click on your mail server linode.
After that click on the Network tab.
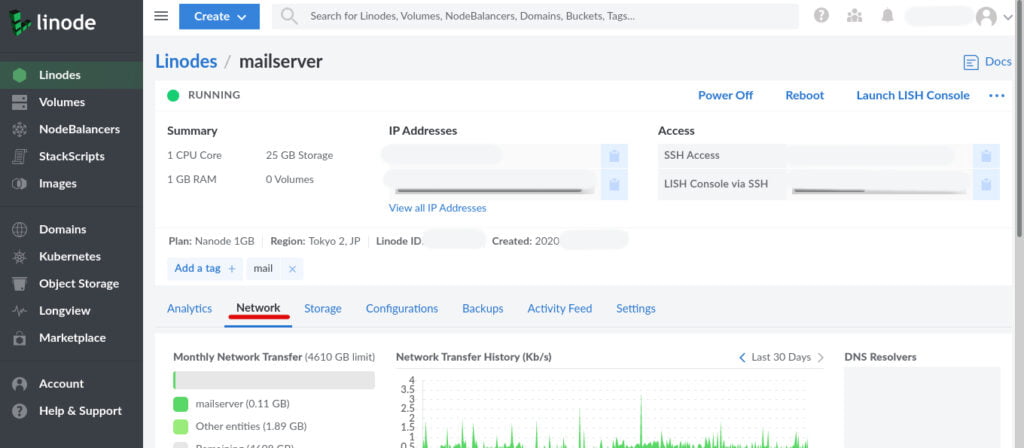
And scroll down.
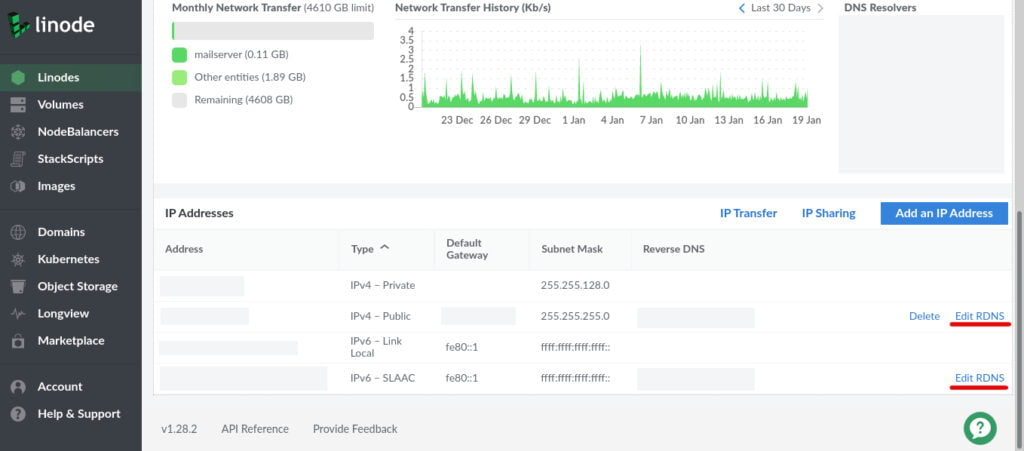
Click Edit RDNS and set RDNS to point to your mail server in the pop-up window. In our case it’s box.mydomain.com. It will be different for you.
With all the settings set correctly and necessary ports open your mail server should be accessible from the internet and be able to receive mail.
Conclusion
While it might seem a bit tedious to go through all these steps just to have a working mail server, we are convinced that it’s really worth it.
With Mail-in-a-box it takes about 30-40 minutes to have the server up and running. It’s a very small time investment, compared to the really nice benefits that your own mail server can offer, such as full control over the server settings, a domain name of your choice and minimum privacy risk.