
Last updated on September 2nd, 2021 at 06:20 pm
Introduction
Installing Kali Linux is a relatively simple and straightforward process. However, there are many different options along the way, as well as potential pitfalls.
In this article I am going to guide you through the process.
Let’s go!
Step 1. Download Kali
Firstly, go to the official website and download the image file. If you are trying to install Kali on a desktop, then most of the time you will need “Kali Linux 64-bit Installer” image, unless you’ve got a 32-bit CPU.
How do you know which CPU you have? Some information how to check it can be found here.
Step 2. Verify the hash
Next, verify the hash. If you are using linux, checking the hash is as simple as typing
sha256sum kali-linux-2021.1-installer-amd64.isoin the terminal for the 64-bit image.
In Windows you can use the following command:
certUtil -hashfile kali-linux-2021.1-installer-amd64.iso SHA256Step 3. Create a bootable USB-stick
My favorite utility for linux is dd. Be careful, though, or you can easily destroy your disk by typing the wrong disk letter.
For Windows I usually use Rufus. It’s a very convenient tool that works well with most linux images.
Step 4. Boot from the image
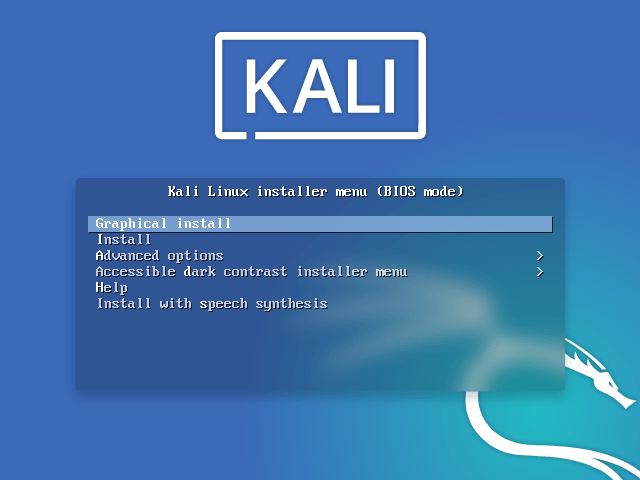
If everything went well, you will see this screen. Choose “Graphical install”.
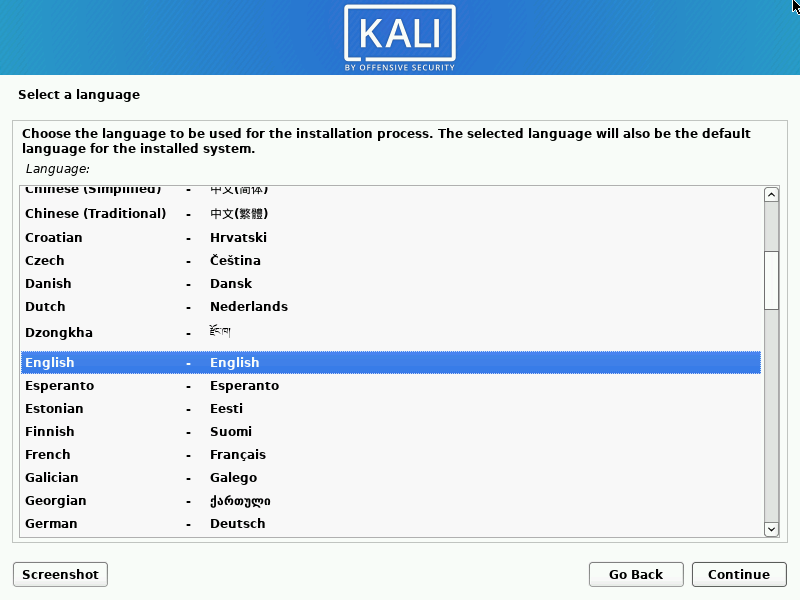
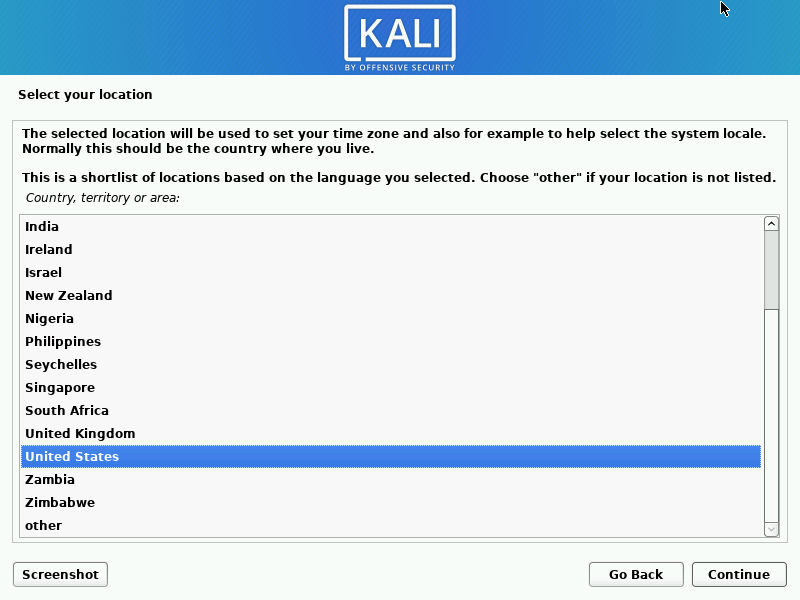
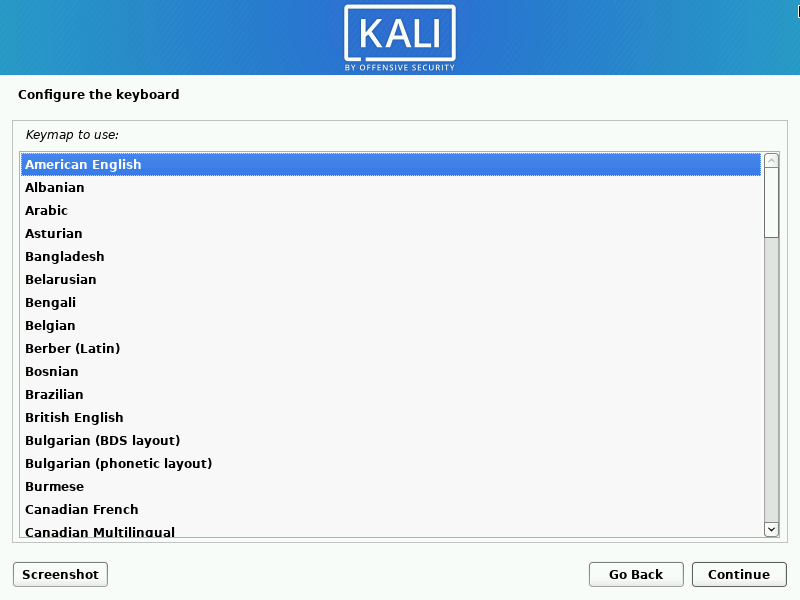
After that select your language, location, keyboard layout and press Continue.
Step 5. Configure your network
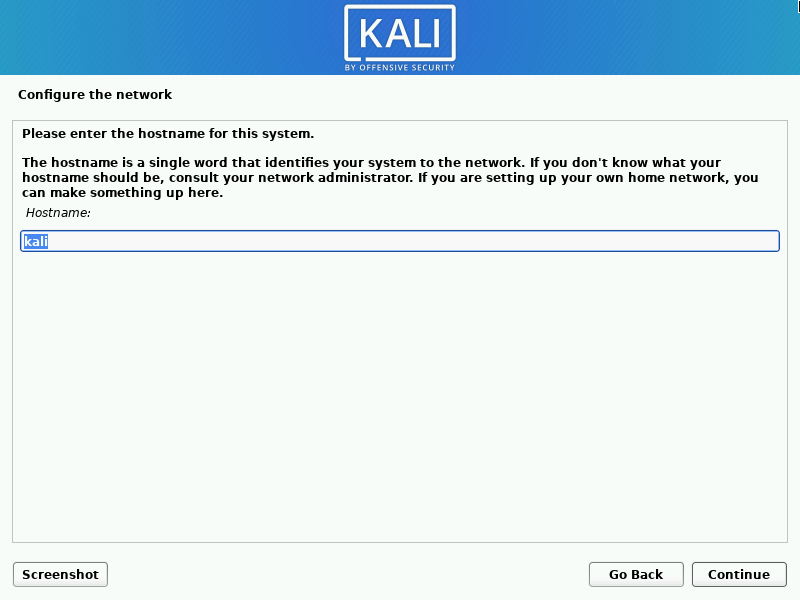

Choose your hostname and your domain name, if you are using one, and proceed to the next step.
Step 6. Set up users
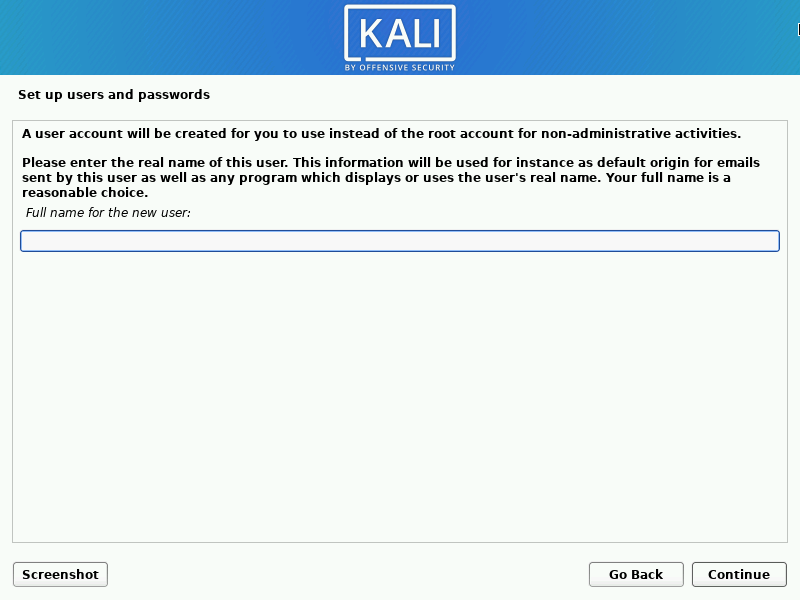
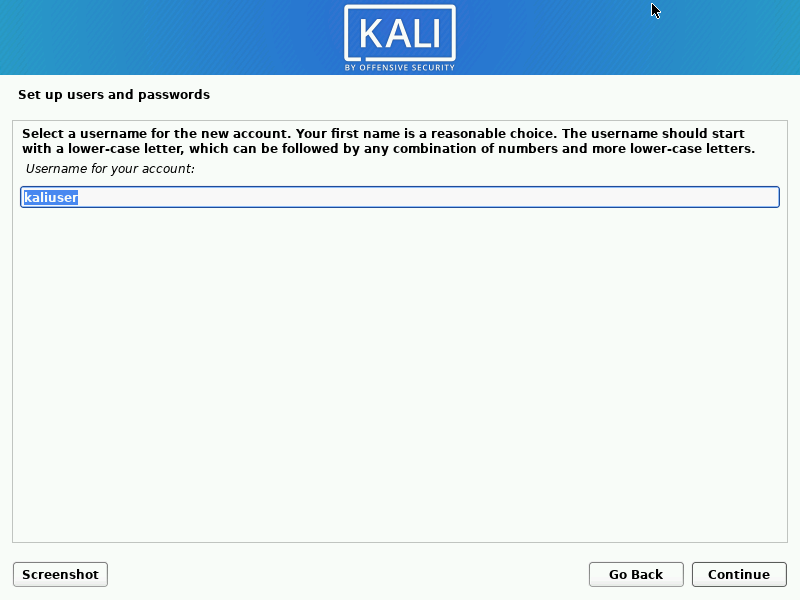
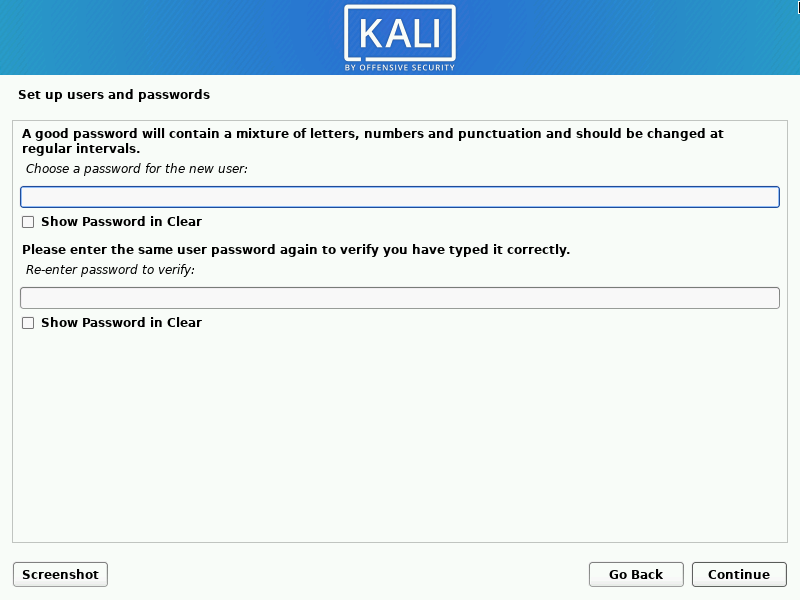
Enter your name, username and a password for your account. The username and the password will be used to log into the system.
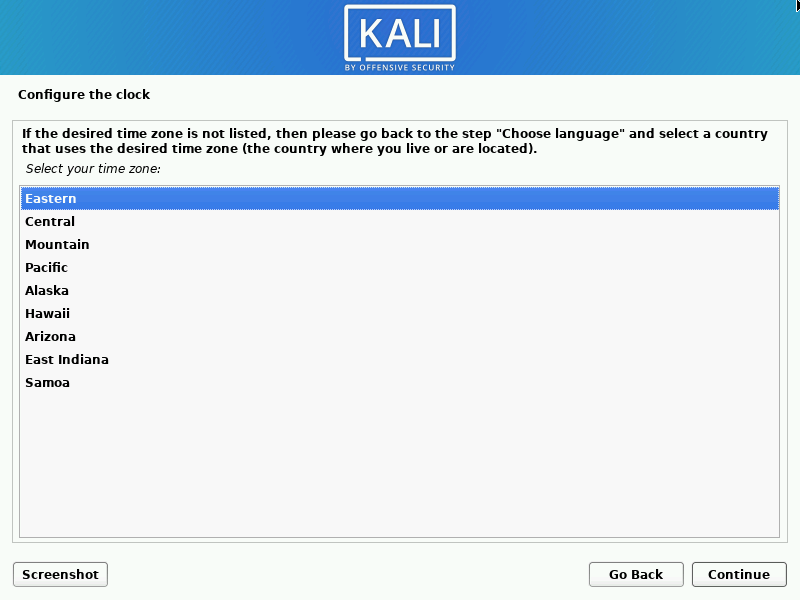
Next, choose your timezone.
Step 7. Partition your hard-drive
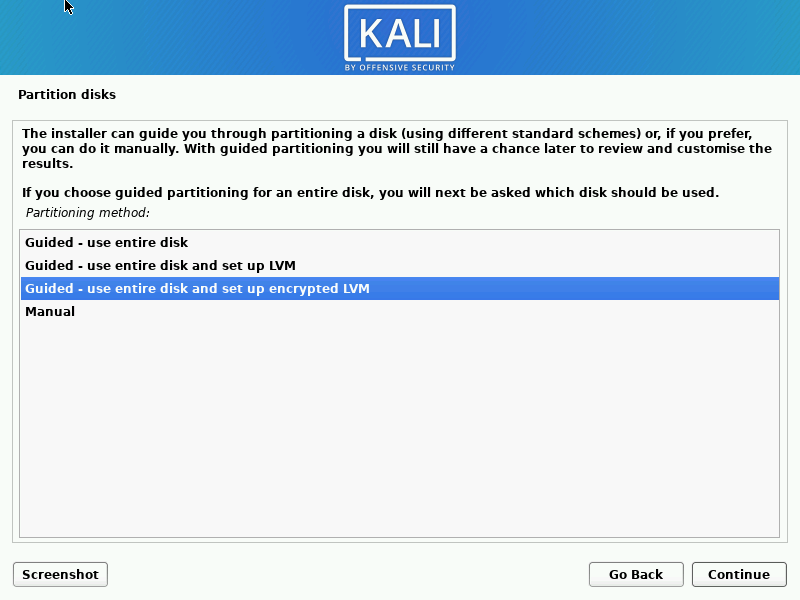
Now we’ve come to disk partitioning. If you are willing to use the entire disk, I recommend choosing use entire disk and set up encrypted LVM option. This way you can enjoy full disk encryption and avoid complex manual partitioning.
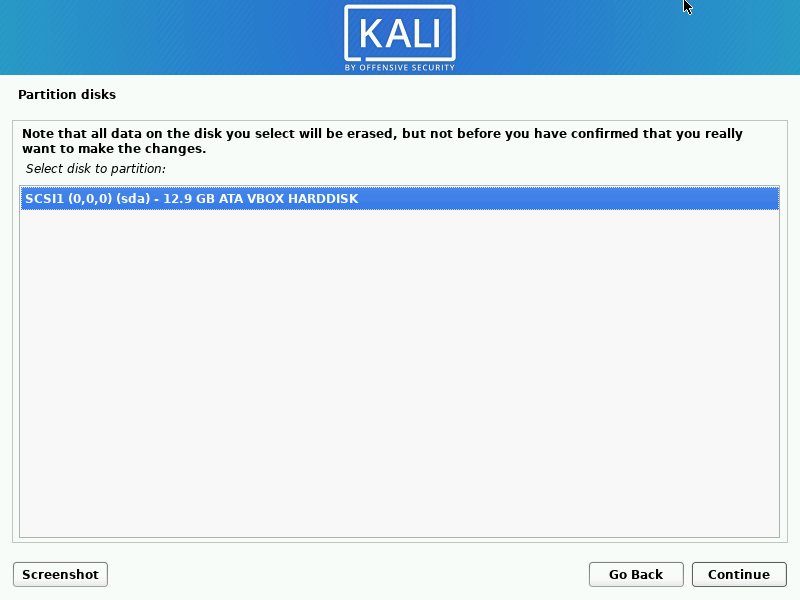
Start with selecting the disk to use for the installation. Note that unless you chose manual partitioning, all the data on the disk will be erased.
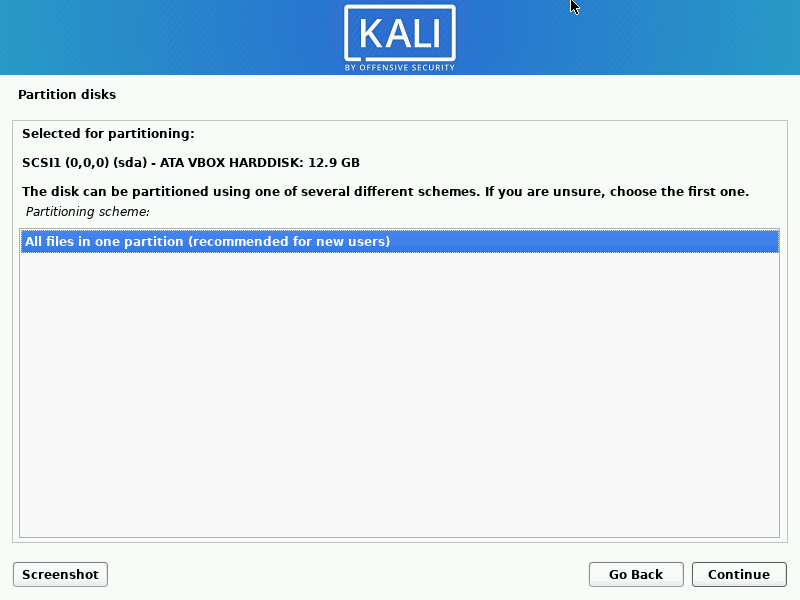
Depending on your disk size you will have one or more different partitioning schemes. Select the one that is more convenient for you.
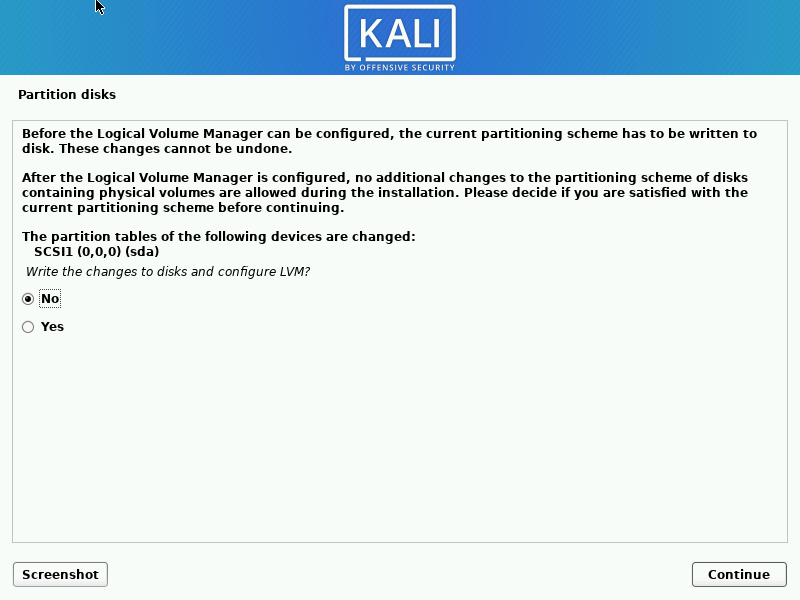
After that select yes to confirm the disk changes and write them to the disk.
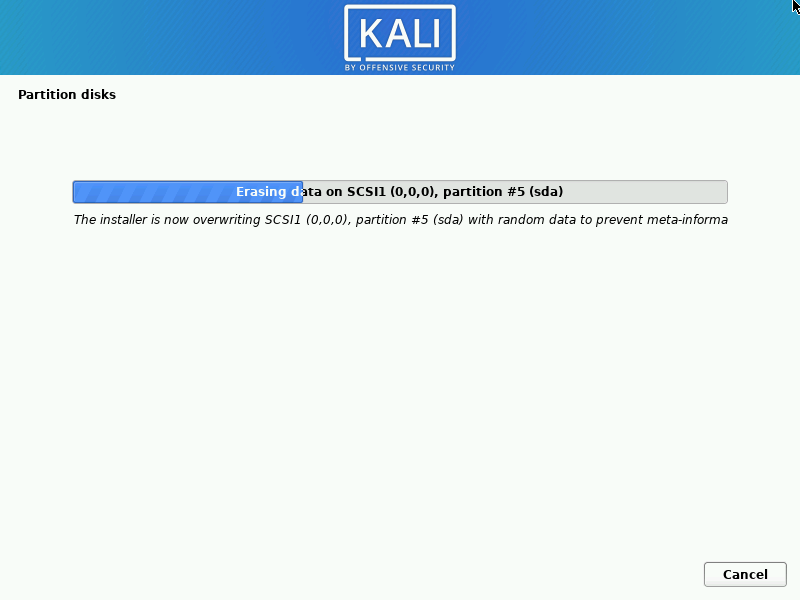
The random data overwrite is used prevent an attacker to determine how much and where on the partition data was written. However, it might take a significant amount of time, depending on your disk size. You can skip this step by pressing Cancel.
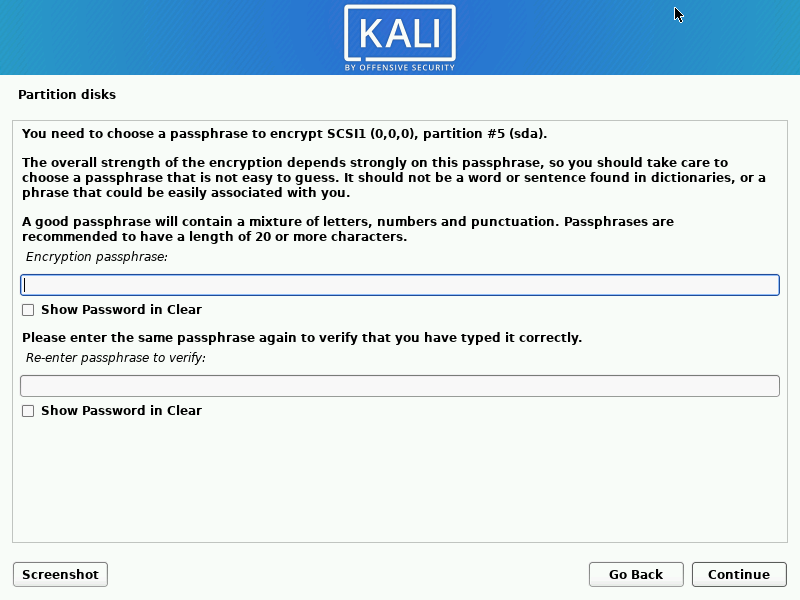
Choose a passphrase to encrypt the disk. Make sure you remember it or write it down. You won’t be able to boot the system or recover any information from the disk if you forget it.
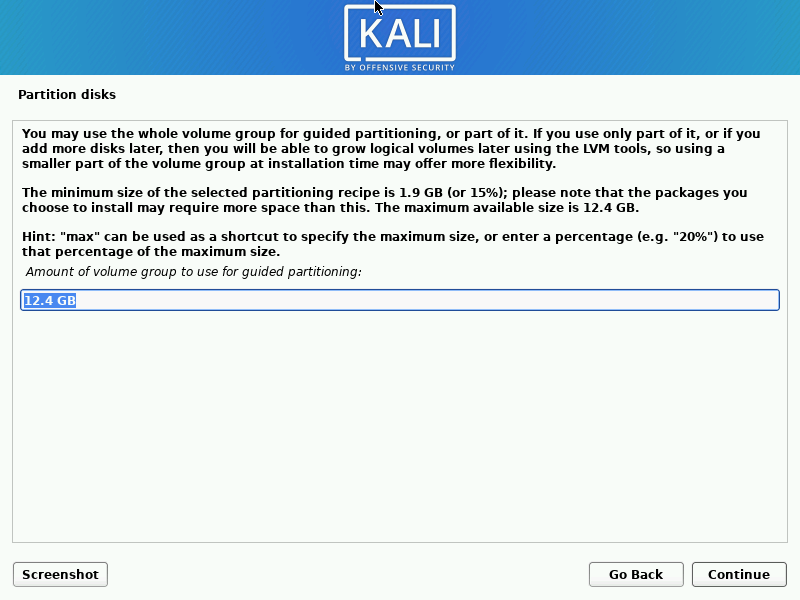
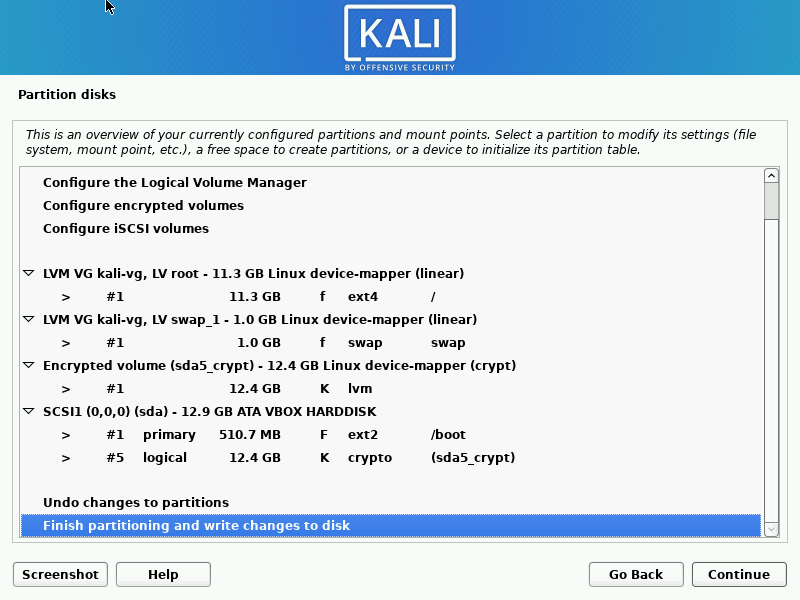
Finally, choose the size of the volume group, if you selected LVM, check the created partitioning scheme, press Continue and choose Yes when you are asked to write changes to disks.
Step 8. Select system components
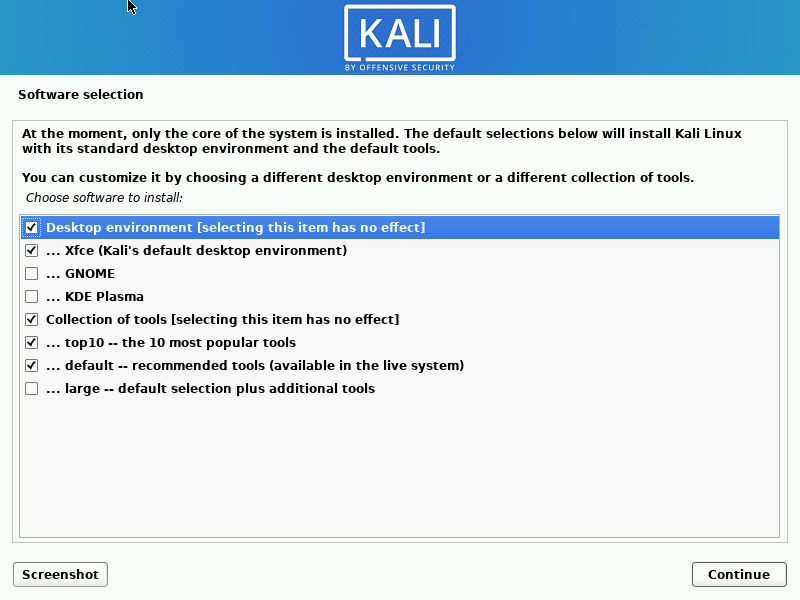
Here you can choose which components you want to install. You can choose between XFCE, GNOME and KDE as your desktop environment and a set of additional tools that you want to use.
Step 9. Install GRUB
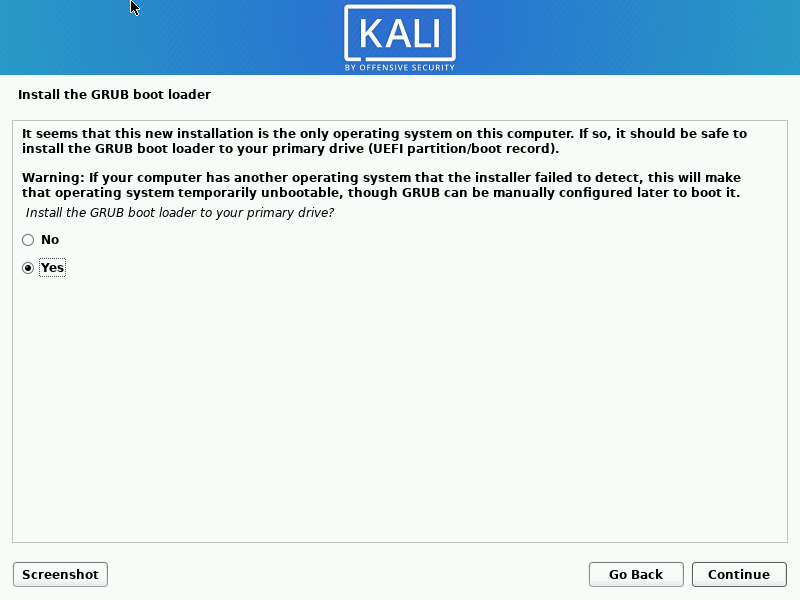
On this screen the installer offers you to install GRUB boot loader. If you choose No, then next time you boot your system it will be impossible to boot into Kali Linux, unless you have another Linux distribution installed, which you can use to add Kali Linux to your boot loader.
In other words, you should choose Yes in most of the cases.
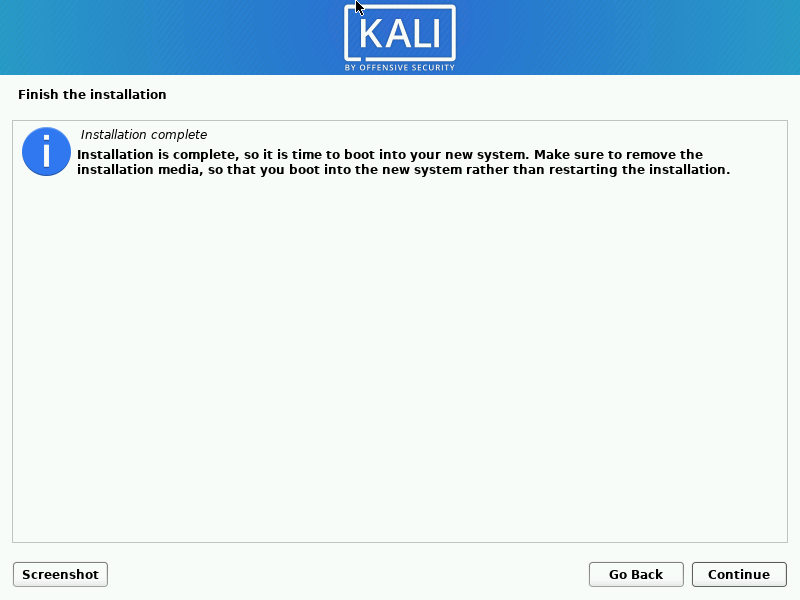
Wait for the installer to finish installation and reboot the system.
Step 10. Boot into Kali Linux
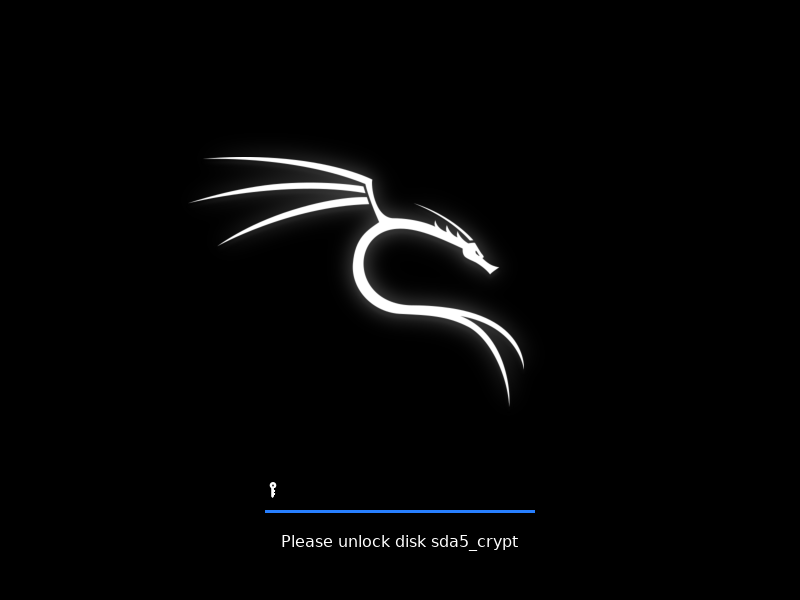
If you chose to encrypt your disk, you will see this screen when you boot from your hard drive. Enter your encryption passphrase that you created while partitioning the disks and press Enter.


Congratulations! You can use Kali Linux now.